Microgreens are young vegetable or herb greens harvested at an early stage — just after the seed leaves have unfolded and often just as the first true leaves appear. They are known for their concentrated flavors, vivid colors, and tender textures. Learning how to grow microgreens opens the door to fresh, nutritious greens packed with vitamins, minerals, and antioxidants that bring both beauty and nourishment to the table.
They are also one of the quickest crops a gardener can grow. Most microgreens are ready in 7–14 days, though some herbs and leafy types may take a little longer. A single tray on a windowsill can provide fresh flavor boosters for salads, sandwiches, and soups, while a larger shelving setup can supply a family’s needs or even provide enough for market sales.
Table of Contents
Supplies You’ll Need
Getting started with learning how to grow microgreens doesn’t require expensive equipment. With a few simple supplies, you can have trays sprouting on your countertop or under lights in no time.
- Trays: Shallow trays with drainage holes are ideal, but you don’t have to buy special gardening trays. Many everyday household containers can be repurposed. For example:
- Cleaned lunchmeat containers make excellent small trays
- Plastic produce clamshells (like those used for berries or salad greens) already have ventilation and drainage
- Rubbermaid-style storage tubs can be adapted for larger plantings — just poke holes in the bottom for drainage
- Glass baking pans work well if you water carefully and don’t overdo it
- Yogurt cups, takeout boxes, or even pie tins can be reused for small batches
- Egg cartons can be filled with soil and used for tiny test plantings
- Recycled aluminum catering pans are lightweight and large enough for generous harvests
- Old drawer organizers or shallow desk trays can also serve as planting trays
- Cardboard milk cartons (cut in half and lined with a plastic bag) or oatmeal containers (cut down to size) can be pressed into service
- Growing medium: A fine potting soil, coco coir, or seed-starting mix works well. Some growers experiment with hydroponic pads, but soil is the most forgiving for beginners.
- Seeds: Fresh, high-quality seed makes all the difference. We offer a wide range of varieties selected for microgreen use.
- Light source: Good lighting is crucial for strong, healthy growth. Natural sunlight on a bright windowsill can work, but most growers find artificial lights more reliable. The best options include:
- Full-spectrum LED grow lights: Energy-efficient, long-lasting, and tuned to the right wavelengths for plant growth. These are the top choice for serious microgreen growing.
- Fluorescent shop lights (T5 or T8): Affordable and effective, widely used for seed starting and microgreens.
- Compact fluorescent bulbs (CFLs): A budget option for small-scale trays, though less efficient than LEDs.
- Avoid incandescent bulbs: They produce too much heat and not enough of the right spectrum for plants.
- Whatever light you use, keep it close — usually 2–4 inches above the tops of the plants. If lights are too far away, microgreens will stretch and become thin and spindly as they reach for the light. Close, consistent lighting helps produce strong stems, sturdy leaves, and compact, flavorful greens.
- Watering tools: A spray bottle or misting can works well for surface watering. Many growers also bottom-water by pouring water into the tray beneath to keep leaves dry.
- Air circulation: A small fan keeps humidity balanced and helps prevent mold.
Read About Why Gardeners Recommend Our Seeds!
Choosing Microgreen Varieties
One of the most enjoyable parts of growing microgreens is experimenting with different flavors, textures, and colors. Each variety has its own character, and by trying several you’ll quickly learn which ones you love most. Here are some of the best microgreen varieties we offer:
Broccoli Microgreens
A staple for beginners and experienced growers alike. Broccoli microgreens sprout quickly, are ready in about 7–14 days, and have a mild, nutty flavor that appeals to nearly everyone. Their bright green color and tender texture make them a versatile choice for salads, wraps, and sandwiches.
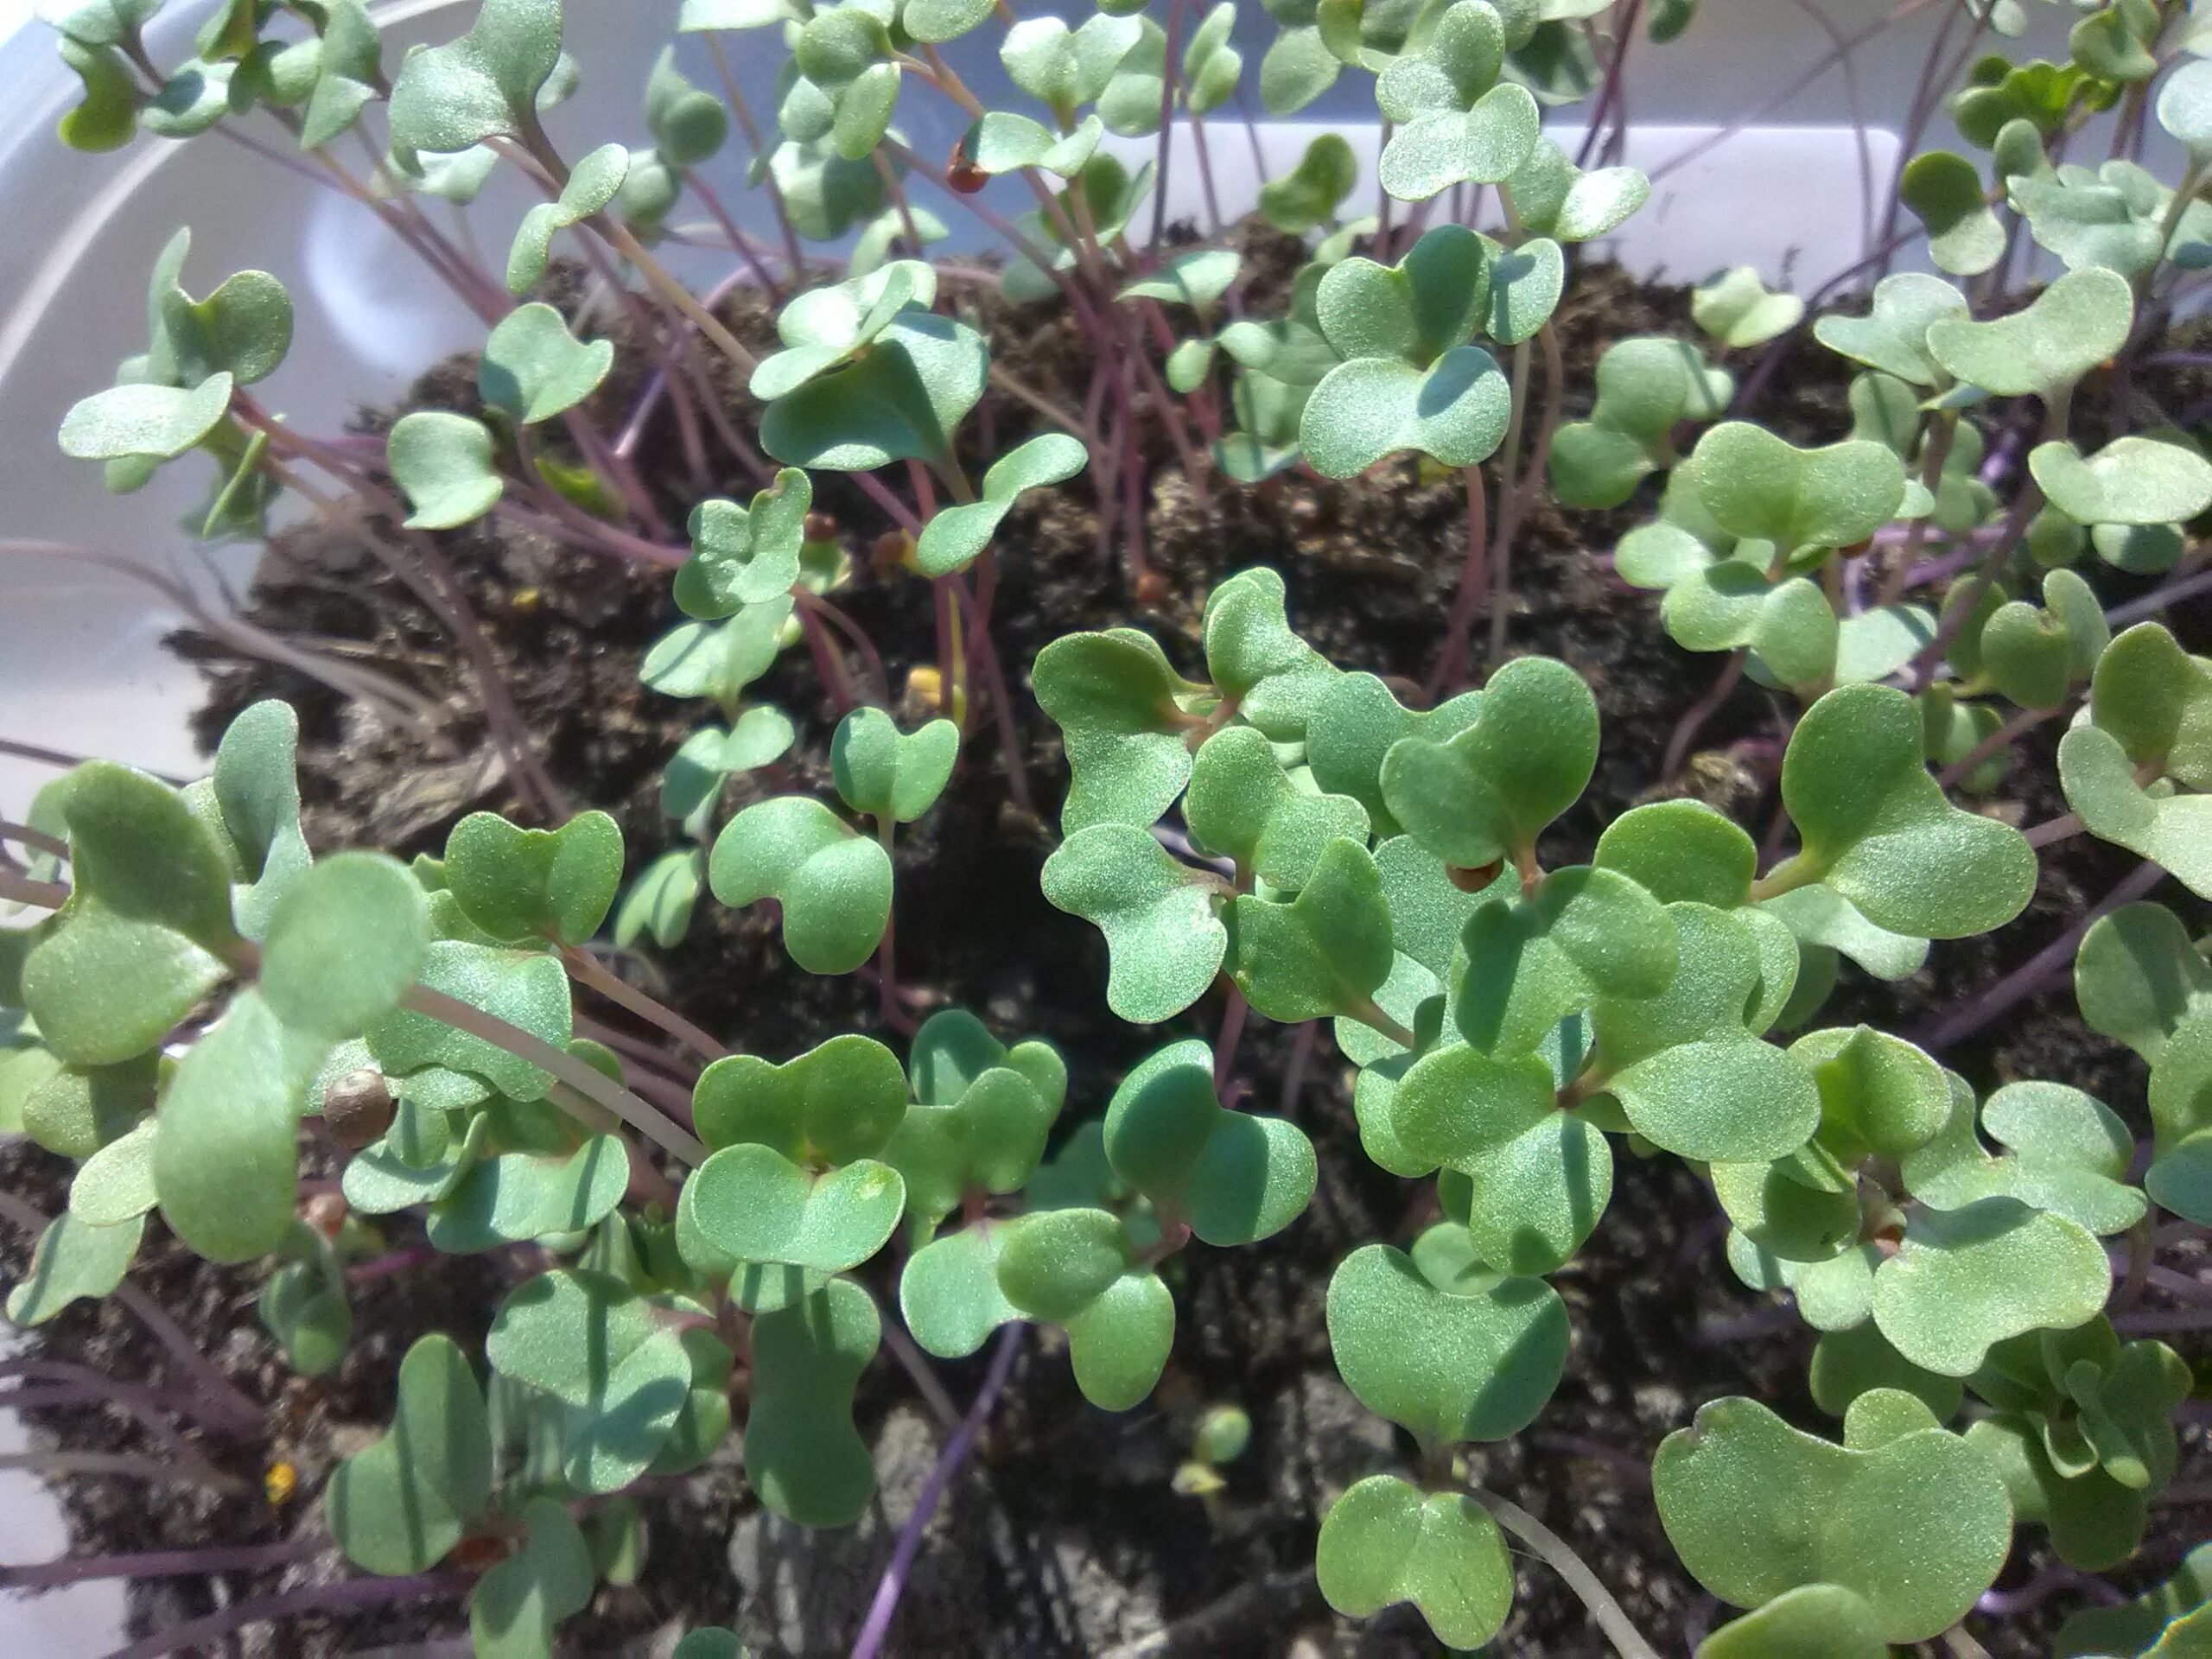
Radish Microgreens
Known for their fast germination and spicy bite, radish microgreens add excitement to any dish. They often feature striking red or purple stems topped with bright green leaves, making them both colorful and flavorful. Ready in about 7–10 days, they are perfect for garnishes, tacos, and sandwiches.
Mustard Microgreens
For those who like a bold, zesty kick, mustard microgreens are a great choice. They grow quickly, with tender green leaves that pack a surprising punch. Harvested at about 8–12 days, they add depth to stir-fries, soups, and sandwiches.
Kale Microgreens
Kale microgreens have a gentle, earthy flavor with a tender texture. They take a little longer than radish or broccoli but reward you with sturdy greens that blend beautifully into smoothies, salads, or grain bowls. They’re typically ready in about 10–14 days.
Beet Microgreens
Beet microgreens are slower to mature, often taking 16–25 days, but their vibrant pink and red stems with green leaves are worth the wait. Their earthy-sweet flavor pairs well with cheese plates, roasted vegetables, and fresh salads.
Swiss Chard Microgreens
Closely related to beets, chard microgreens are also colorful, with stems ranging from pink to yellow and orange. Their mild, slightly salty taste and striking color make them an excellent garnish for soups and side dishes.
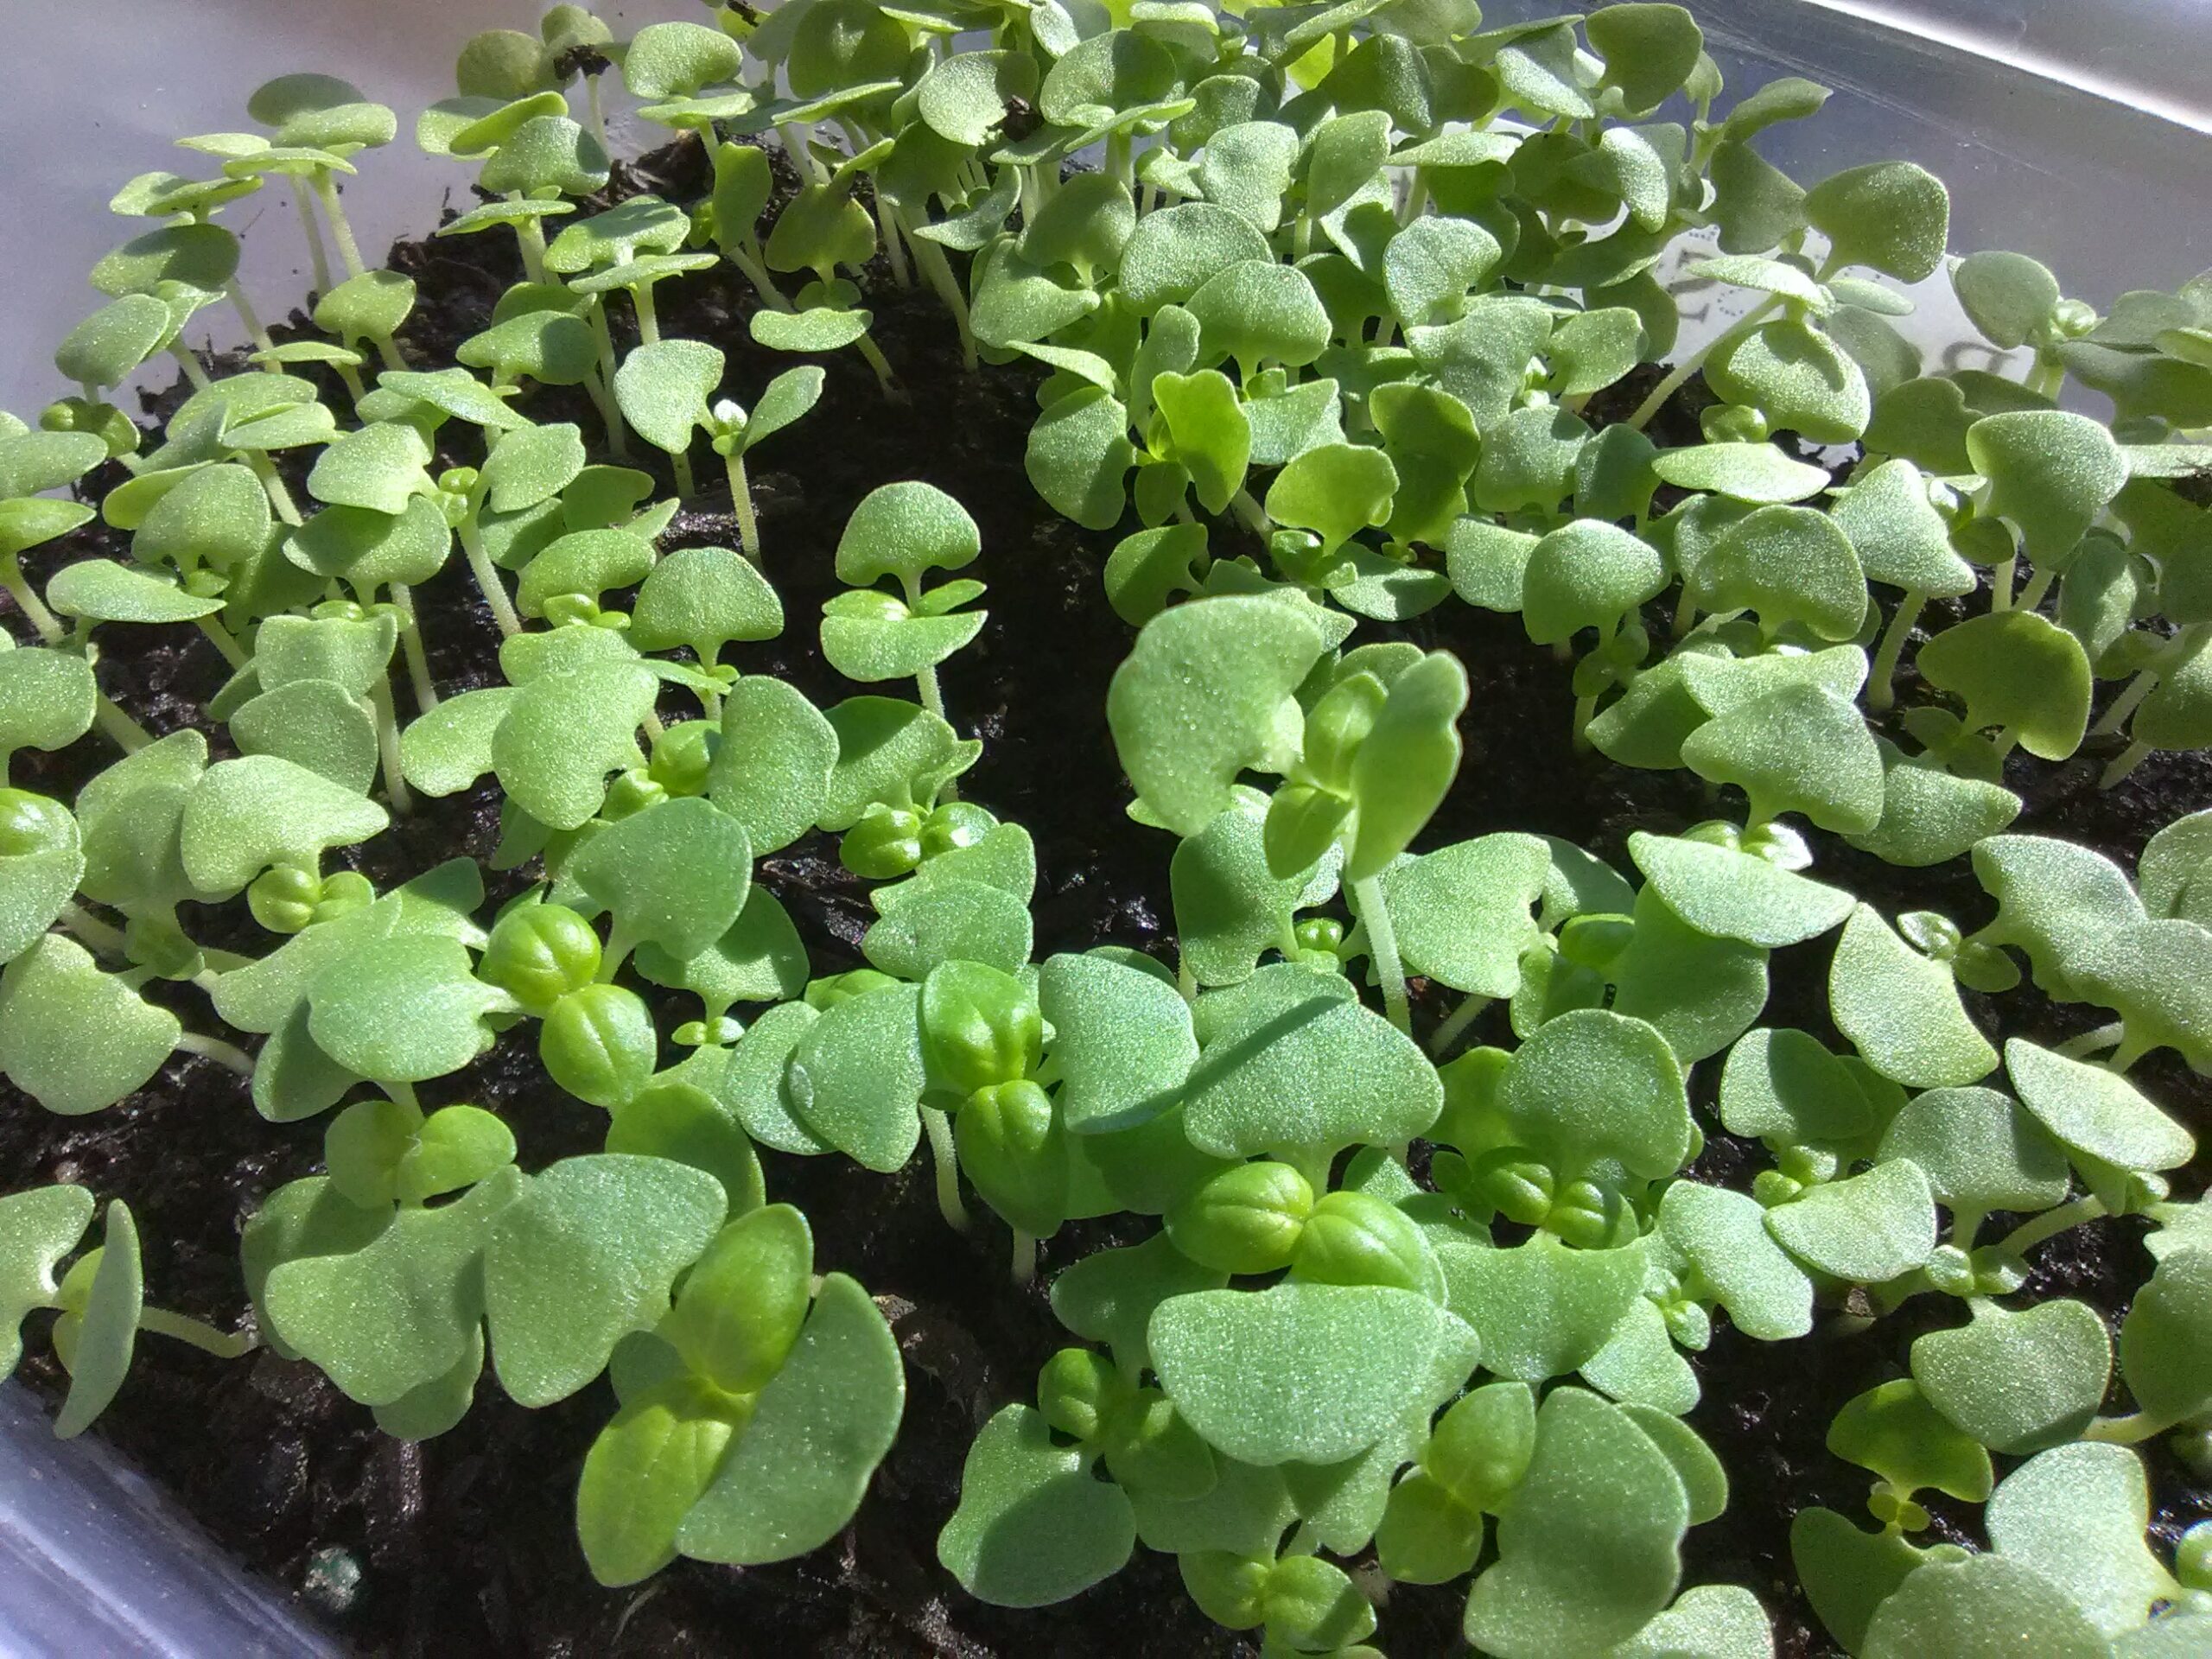
Basil Microgreens
Slow-growing but intensely aromatic, basil microgreens bring the classic sweet-spicy flavor of basil into tiny, tender leaves. Ready in about 18–25 days, they’re wonderful on pasta, pizza, or paired with tomatoes and mozzarella.
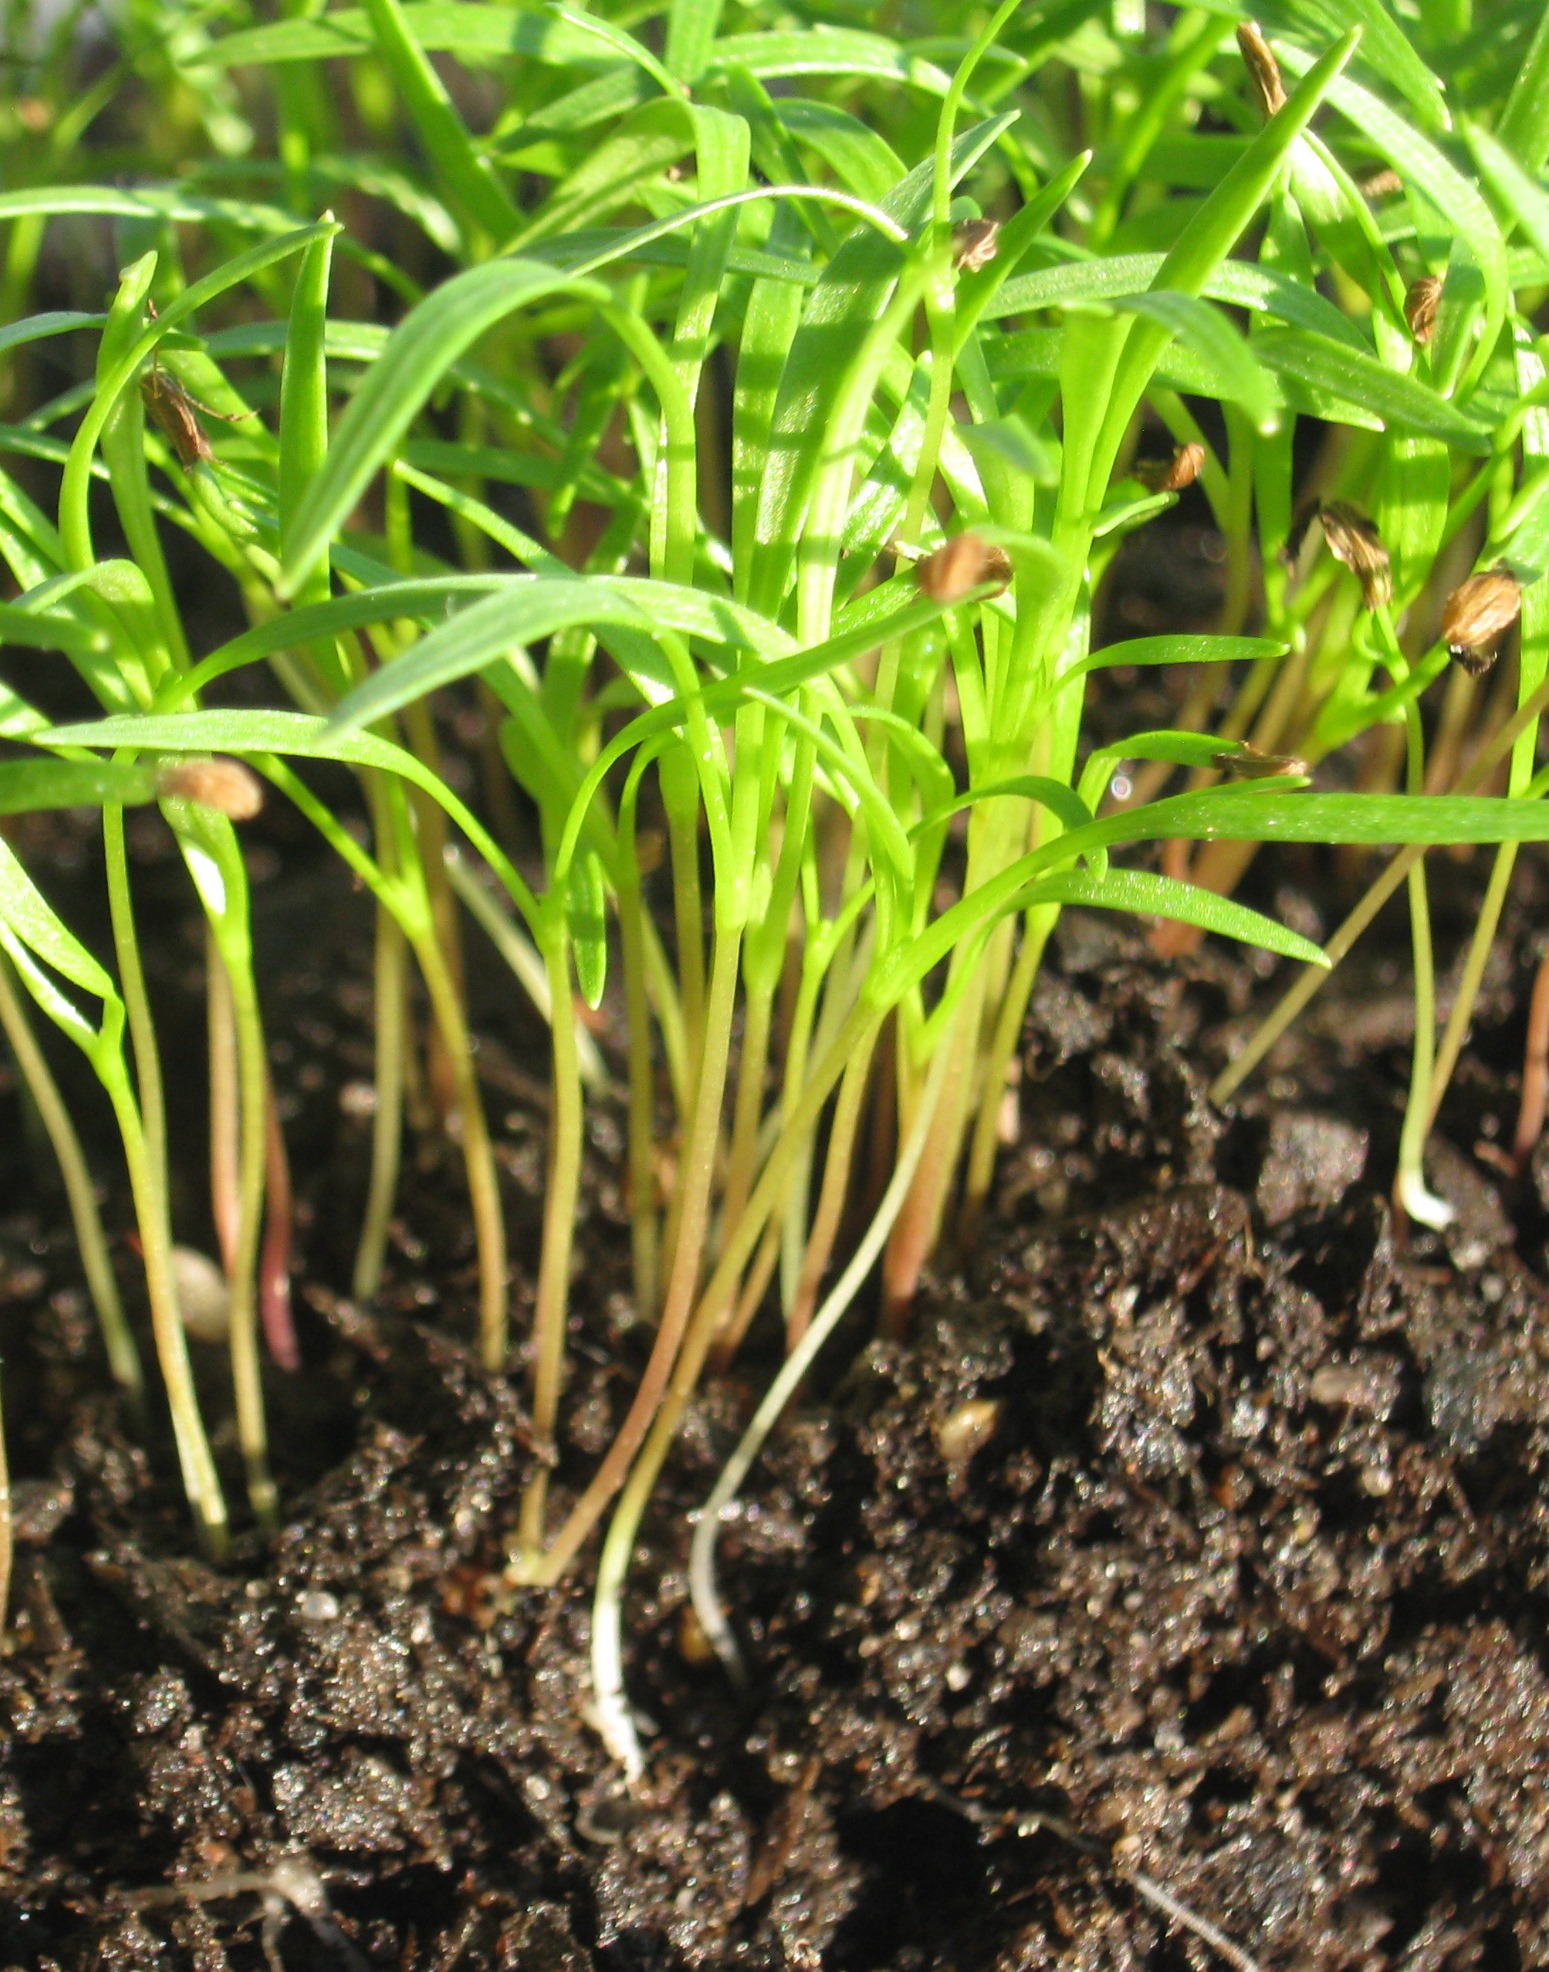
Cilantro Microgreens
Cilantro microgreens carry the same bright, citrusy flavor as the mature herb. They take around 18–25 days to harvest and are especially popular in Mexican, Asian, and Middle Eastern cuisine. Sprinkle them on tacos, pho, or fresh salsas.
Parsley Microgreens
Though slow to sprout and mature (often 20–25 days), parsley microgreens reward patient growers with fragrant, curly or flat-leaf greens. Their clean, mild flavor brightens soups, sauces, and roasted dishes.
Pea Shoots
Larger and more substantial than most microgreens, pea shoots are tender yet crisp, with a sweet flavor reminiscent of fresh peas. They are typically ready in 10–14 days and are excellent in stir-fries, salads, and sandwiches.
Sunflower Shoots
Sunflower microgreens produce hearty greens with a nutty, crunchy flavor. They are ready in 10–14 days and can be eaten fresh as a snack, added to smoothies, or used in sandwiches and wraps.
Specialty Mixes
For variety in both taste and appearance, consider mixing seeds to create custom blends. A spicy mix might combine mustard and radish, while a salad mix could feature broccoli, kale, and chard. These mixes offer flavor balance and colorful harvests in a single tray.
Step-by-Step Growing Method
- Prepare Trays and Soil
Fill trays with about 1–1.5 inches of growing medium. Moisten thoroughly but avoid pooling water. Smooth the surface with your hand or a flat board. - Sow the Seeds
Distribute seeds evenly across the soil. Smaller seeds can be sown densely, while larger ones like peas and sunflower need more space. After spreading, press seeds gently into the soil for good contact. - Blackout Phase
Cover trays with another tray or a lid for 2–4 days. This dark period encourages even germination and strong root growth. Check daily and mist lightly if the soil begins to dry. - Light and Growth
When sprouts begin pushing against the cover, remove it and place trays under bright light. Keep lights close — just a few inches above the tops of the plants — to prevent them from growing tall and weak. Adjust light height as plants grow to keep the distance consistent. Provide 12–18 hours of light each day for best results. A small fan keeps stems sturdy and discourages mold. Rotate trays daily so all sides receive even light and growth stays uniform. - Care and Watering
Mist lightly from above or, better yet, water from below by pouring into the bottom tray. Keep soil moist but not soggy. Good drainage is essential. - Harvesting
Most microgreens are ready when the seed leaves have opened and true leaves are just emerging. Cut with sharp scissors just above the soil surface. Harvest in the morning for the crispest greens. - Storage
Eat immediately for best flavor, or refrigerate in a breathable container. Microgreens stay fresh for several days when kept cool and dry.
Nutrition and Culinary Uses
Microgreens are not only beautiful but also highly nutritious. They contain concentrated levels of vitamins A, C, K, and many minerals. Adding a small handful to a salad or sandwich provides both flavor and a nutritional boost.
- Broccoli microgreens are especially noted for their richness in beneficial compounds
- Radish microgreens add a spicy tang to sandwiches and tacos
- Pea shoots are wonderful in stir-fries, omelets, and wraps
- Herb microgreens like basil or cilantro brighten soups, pasta, or rice dishes with bold flavor
Troubleshooting Common Issues
- Mold or fungus: Improve airflow, avoid overwatering, and sanitize trays
- Spindly seedlings: Move trays closer to the light source or increase light hours
- Uneven growth: Press seeds more firmly into the soil and keep moisture consistent
- Yellow leaves: Seedlings will green up once exposed to steady light
Advanced Growing Tips
- Stagger planting: Plant a new tray every few days to maintain a continuous harvest
- Experiment with density: Keep notes on how much seed you use per tray and adjust for the best yields
- Mix varieties: Create your own signature blends for salads or garnishes
- Scale up with shelving: Add tiers of trays under lights to expand production without taking up more floor space
- Reuse soil carefully: Spent soil can be composted or used in the garden. For clean microgreen crops, start fresh each time
Scaling Up for Market Sales
Many gardeners who fall in love with microgreens find themselves producing more than their family can use. At that point, selling extra trays or packaged greens can be a natural next step. With a little planning, microgreens can become a profitable sideline or small business.
- Packaging: Lightweight, clear clamshell containers or simple paper bags with a clear window allow customers to see the freshness of your greens. Always harvest cleanly, handle gently, and package in breathable containers to preserve quality.
- Labeling: Add simple labels with the variety name, harvest date, and suggested uses. A clean, professional label helps build trust with customers.
- Storage and Transport: Keep microgreens refrigerated until delivery or sale. Use a cooler with ice packs when transporting to farmers markets, restaurants, or local shops.
- Pricing: Check local markets to see what others charge for microgreens. Often, they are sold by the ounce or in small containers, reflecting their high value and quick turnaround.
- Sales Outlets: Farmers markets, farm stands, co-ops, and small grocery stores are excellent places to sell. Many chefs also value fresh microgreens and may purchase directly from growers for restaurant use.
- Scaling Production: To produce enough for market, invest in shelving units with multiple tiers of trays and consistent lighting. Stagger sowings daily or every few days to guarantee steady harvests.
- Food Safety: When selling to the public, maintain excellent sanitation. Wash and sanitize trays, tools, and workspaces regularly, and handle greens with clean hands or gloves.
Selling microgreens not only brings in income but also builds connections with your local community. Fresh, homegrown microgreens are always in demand for their flavor, nutrition, and beauty.
Record-Keeping
Keep a simple notebook or spreadsheet with:
- Variety planted
- Date seeded
- Germination time
- Harvest date
- Notes on flavor, yield, and issues
Over time, this record helps you fine-tune seeding rates and select your favorite varieties.
Sample Weekly Planting and Harvest Calendar
To master how to grow microgreens for a steady supply of fresh harvests, stagger your sowing throughout the week. Here’s an example schedule:
- Monday: Seed a tray of broccoli microgreens (ready in about 7–14 days)
- Wednesday: Seed a tray of radish microgreens (ready in about 7–10 days)
- Friday: Seed a tray of pea shoots (ready in about 10–14 days)
- Saturday: Seed a tray of mustard or kale (ready in about 10–14 days)
With this rotation, you’ll have fresh harvests coming ready at different times every week. Once trays are harvested, clean them and start again to keep the cycle going. Adjust to fit your household needs — some growers plant every other day for an even more continuous supply.
Bringing It All Together
Microgreens are one of the most rewarding crops for any gardener. With just a tray, some seed, and a little care, you can enjoy a harvest of fresh greens in under two weeks. Whether you enjoy the sweetness of pea shoots, the spice of radish and mustard, or the color of beets and chard, microgreens bring freshness and vitality to your kitchen year-round.
At St. Clare Seeds, we provide high-quality seeds perfectly suited for microgreens, along with practical guidance on how to grow microgreens successfully. With a little creativity — whether using recycled containers, experimenting with mixes, refining your lighting setup, or scaling up to market sales — you’ll enjoy the satisfaction of growing your own healthy, flavorful greens in every season.
What are your thoughts? Drop a comment below!
FAQ:
What’s the best way to start learning how to grow microgreens at home?
The best way to learn how to grow microgreens is to start small — a single tray of broccoli or radish greens on a bright windowsill. Use clean containers, quality seed, and light, fluffy soil. You’ll see sprouts in just a few days and harvest within two weeks.
How to grow microgreens indoors without using grow lights?
You can learn how to grow microgreens indoors with nothing more than natural sunlight if you have a bright south-facing window. Turn trays daily so seedlings don’t lean toward the light, and keep the soil evenly moist for sturdy, compact growth.
How to grow microgreens using repurposed household containers?
When figuring out how to grow microgreens, many gardeners recycle containers like berry clamshells or deli trays. Just wash them well, poke drainage holes, fill with potting mix, and you’ll have a sustainable setup that works just as well as store-bought trays.
What lighting is best for learning how to grow microgreens?
For consistent results, the best setup for how to grow microgreens includes LED grow lights kept close to the plants — about two to four inches above. LEDs provide a full light spectrum and low heat, helping your greens grow sturdy, not spindly.
How to grow microgreens successfully during winter?
To master how to grow microgreens in colder months, rely on artificial lighting and a warm indoor spot around 65–75°F. Even in the dead of winter, microgreens thrive under steady light, moderate humidity, and a bit of patience.
Is soil or hydroponics better when learning how to grow microgreens?
For beginners exploring how to grow microgreens, soil is often easier — it retains moisture naturally and provides nutrients. Hydroponic mats work well too but demand precise watering and slightly more monitoring for best results.
How to grow microgreens continuously for a steady supply?
To keep fresh greens on hand year-round, how to grow microgreens means staggering your trays. Plant new ones every few days so you can harvest one batch while another is sprouting. It’s a simple rhythm that guarantees constant freshness.
How to grow microgreens as a small business or side income?
If you’re learning how to grow microgreens for market sales, focus on popular types like sunflower, pea, and radish. Clean trays, strong lighting, and quick packaging right after harvest are key to maintaining freshness and customer trust.
What are common mistakes when learning how to grow microgreens?
When starting out, many people learning how to grow microgreens overwater or keep lights too far away. The result is mold or stretched plants. Keep trays clean, water sparingly, and provide close, consistent light for the best texture and flavor.
How to grow microgreens that stay flavorful and nutrient-rich?
To get the most out of how to grow microgreens, harvest them at the right moment — when the seed leaves are open and the first true leaves appear. This stage gives you the highest flavor, color, and nutritional value possible.