
Whether you’re a beginner or experienced gardener, growing microgreens indoors is a snap with the following easy step-by-step instructions. All you will need are a few empty containers, (deli or lunch meat containers work great, save money, and are a way to recycle what you have on hand), soil, water, and light, and you can grow microgreens all year round. Microgreens are super nutritious, grow quickly, require very little space, and are one of the easiest things to grow. They can be expensive to purchase, but you can easily grow your own, and add these super nutritious and flavorful veggies to your diet. If you have kids, this is a gardening project they can easily join in with, too. Our kids love helping grow(and eat!) our microgreens. Let’s dive right in and show how easy it is to grow them!
Choose and order your seeds:
Before you can plant your heirloom microgreens, you need to choose and order your seeds. Some of the most popular and easy to grow varieties are:
- Amaranth
- Arugula
- Beet
- Basil
- Borage
- Broccoli
- Cabbage
- Carrot
- Cilantro
- Collards
- Dill
- Kale
- Kohlrabi
- Lettuce
- Mustard
- Parsley
- Spinach
- Radish
Gather your supplies:
- Heirloom Microgreen Seeds
- Seed starting soil
- Containers for growing in
- Labels or tape, and a marker
- Water( a spray bottle works really well to mist the seeds)
- A light source(south-facing window or grow-light)
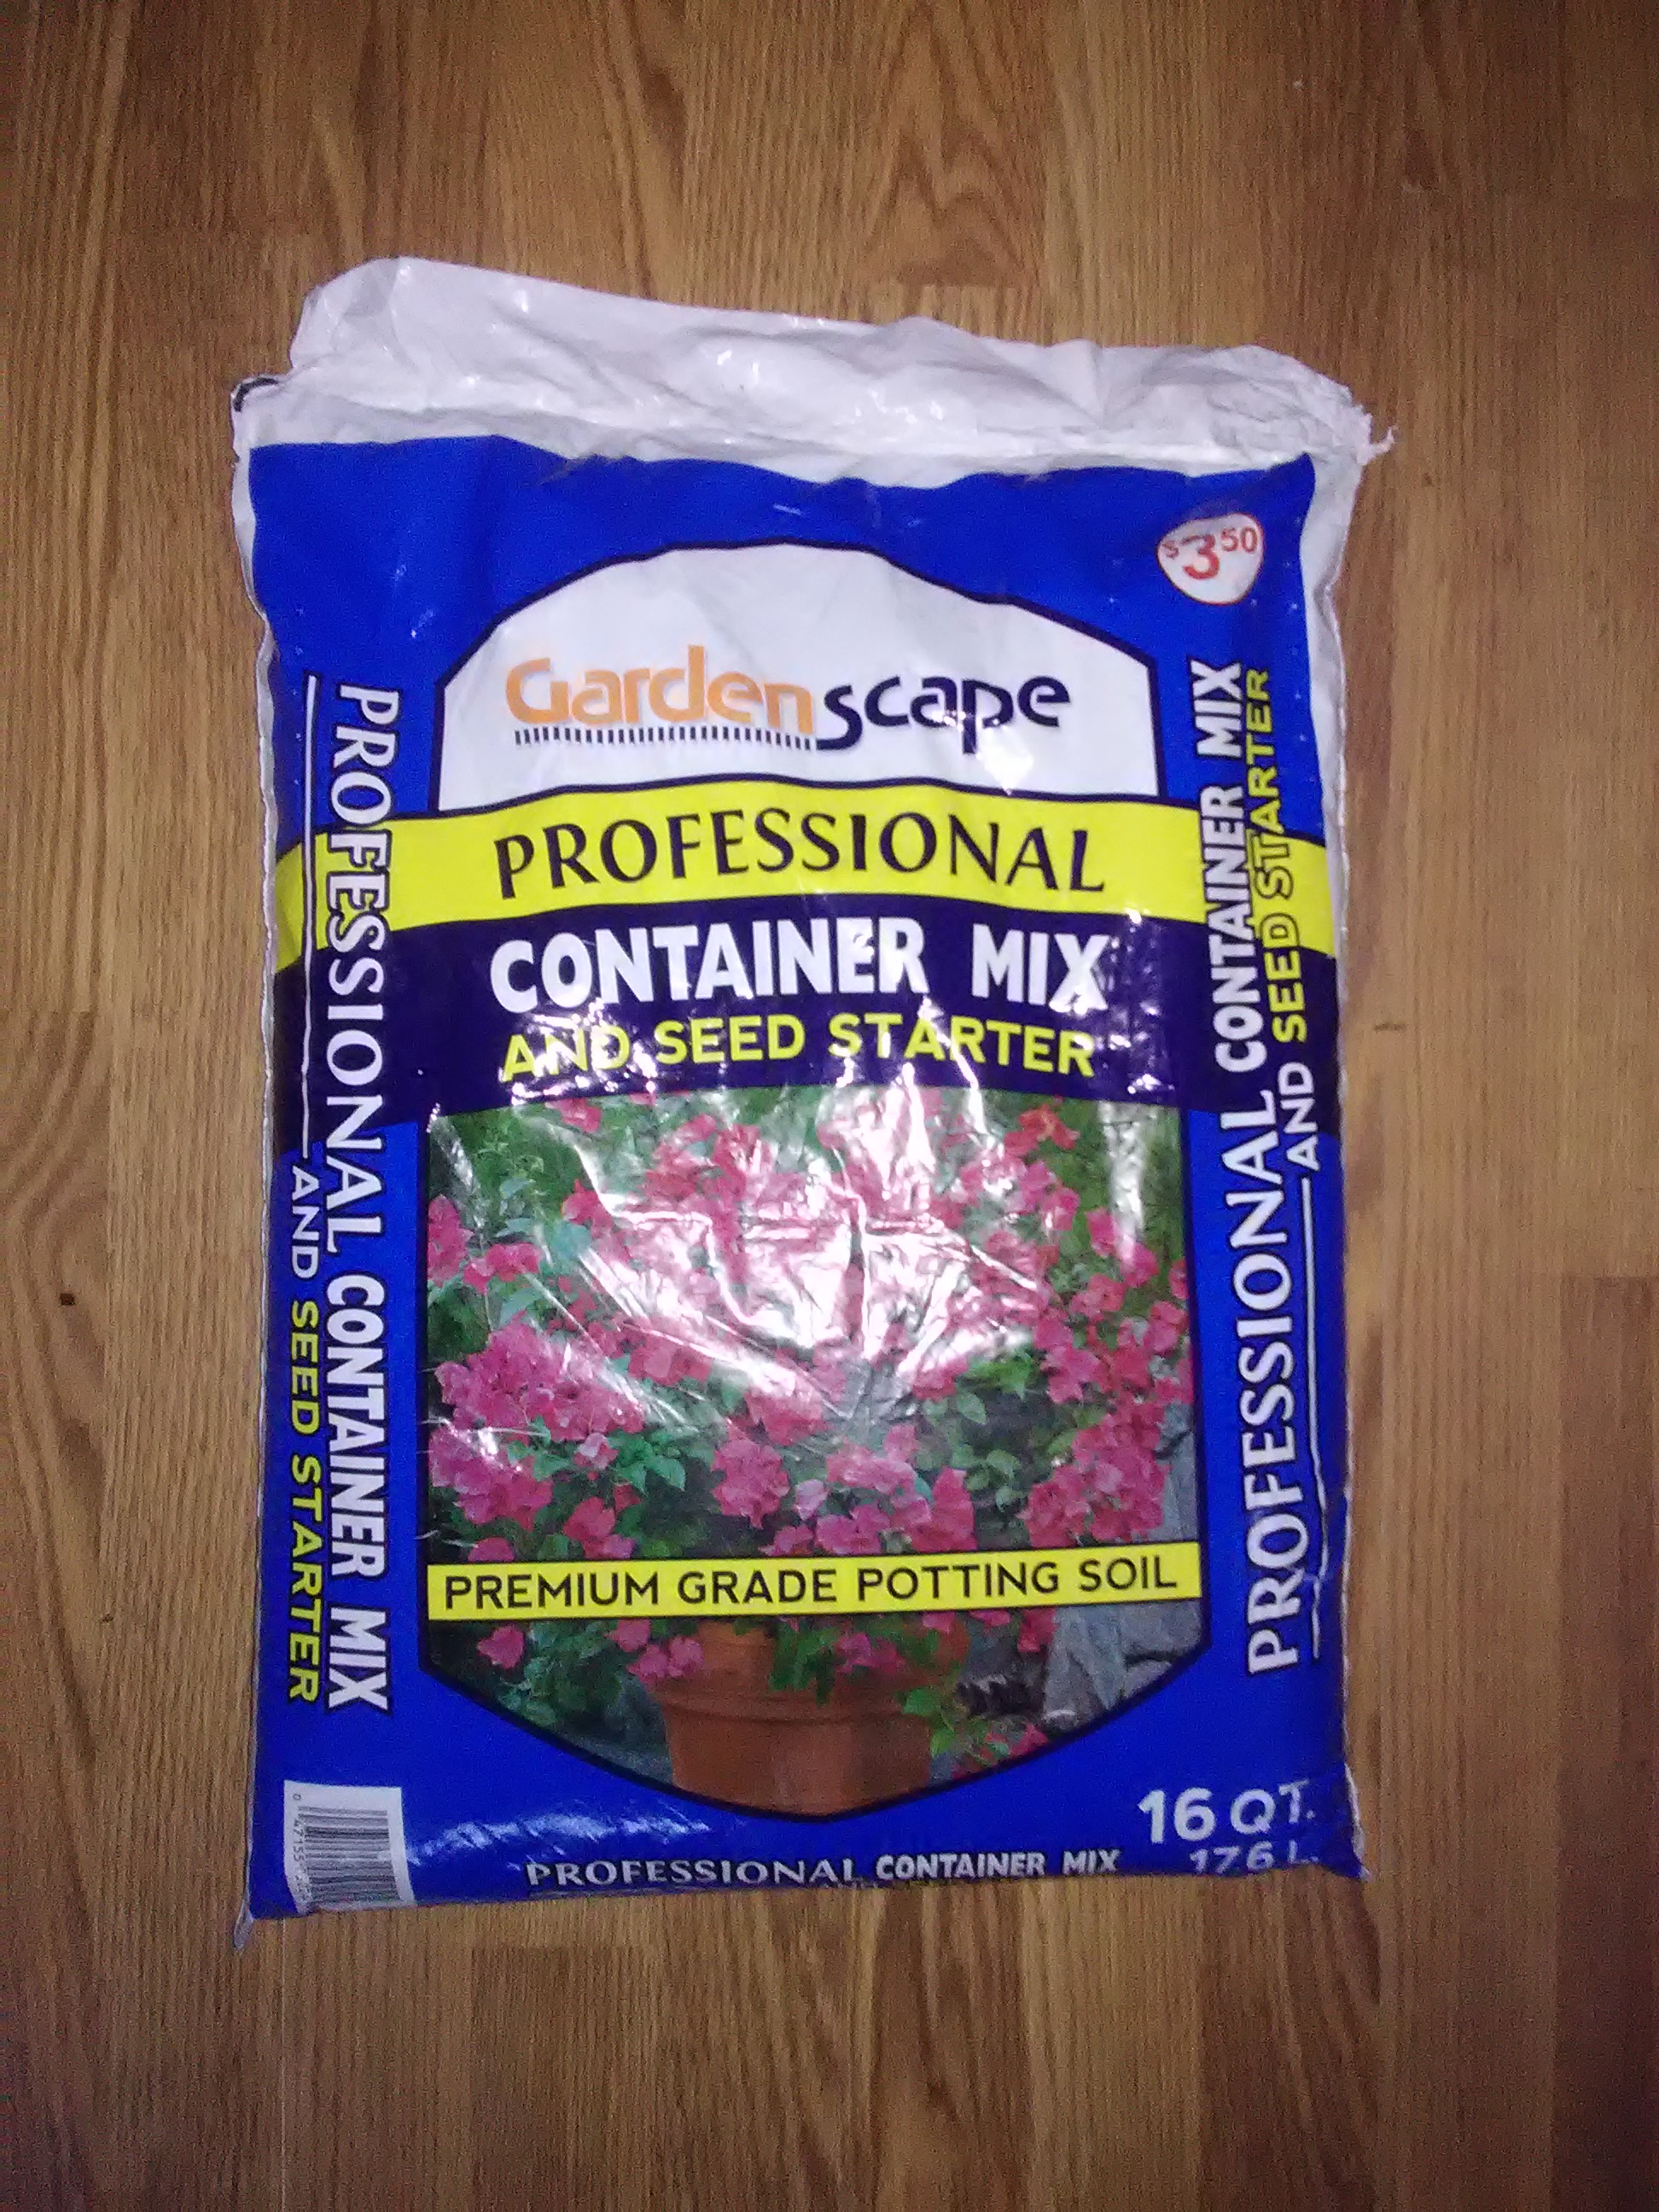
The best soil to use is a mix of soil and seed starter, as regular potting soil is too bulky with large pieces that would block the growth of seeds. The mix pictured above worked well(and was all we could find in stores at this time of year!) But, we like seed starting mixes even better, they’re the perfect medium for growing your seeds indoors.
Click Here to Purchase Microgreen Seeds!
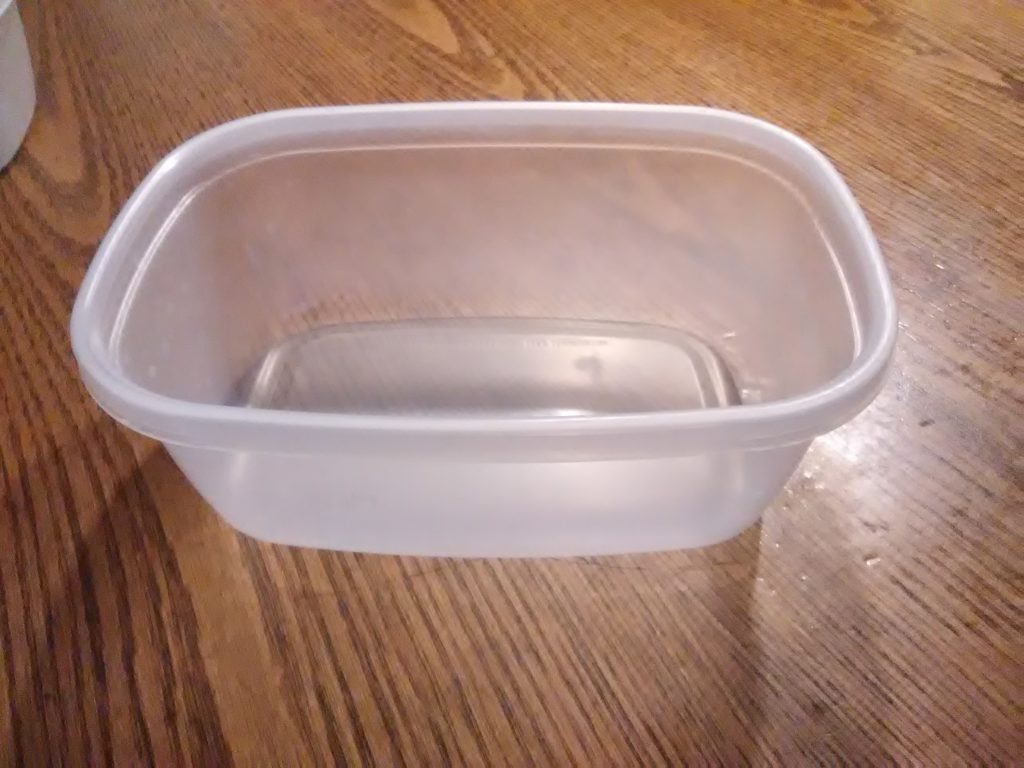
You can use any empty container that is around 2-3 inches in height; deli containers, take-out containers, disposable pie plates, clear fruit or salad containers, shallow sour cream or cottage cheese containers, or lunch meat containers all are excellent options, they’re free, reduce waste, and work perfectly.
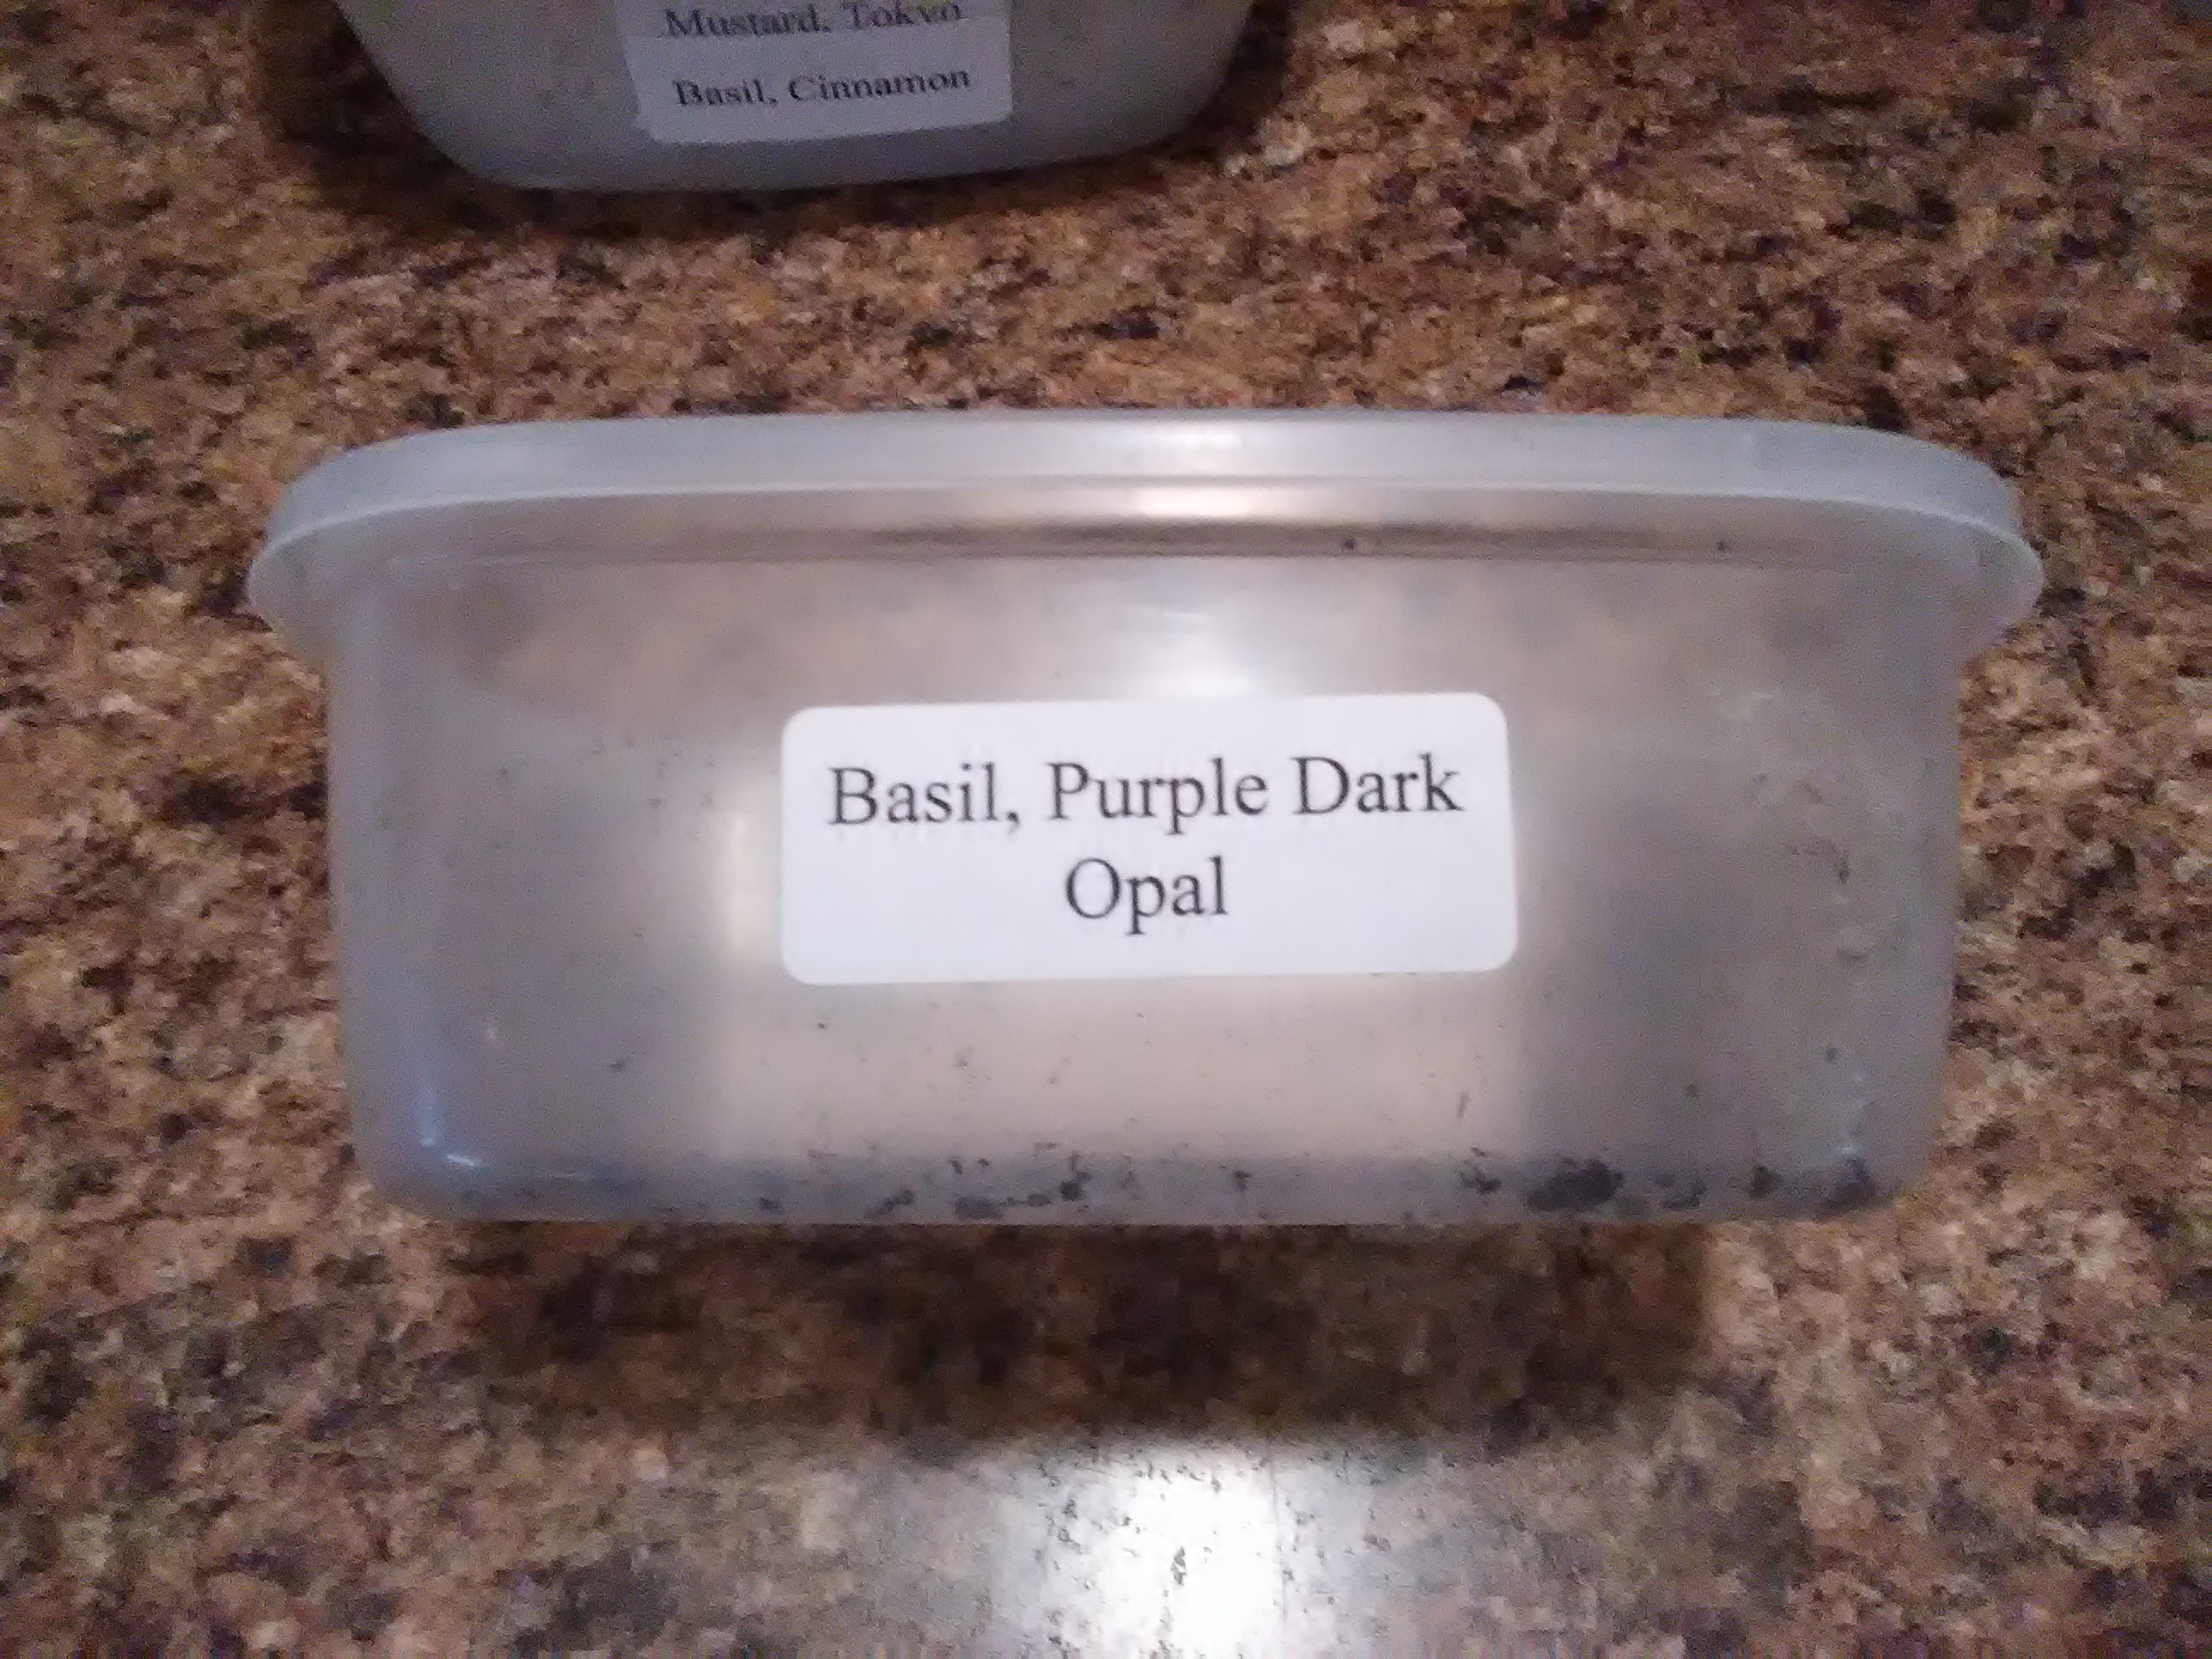
Make sure you have a supply of labels or masking tape and a marker to label each container, so you know which plants are sprouting, and can keep track of them when you harvest, so you can figure out which are your favorite microgreens, too.
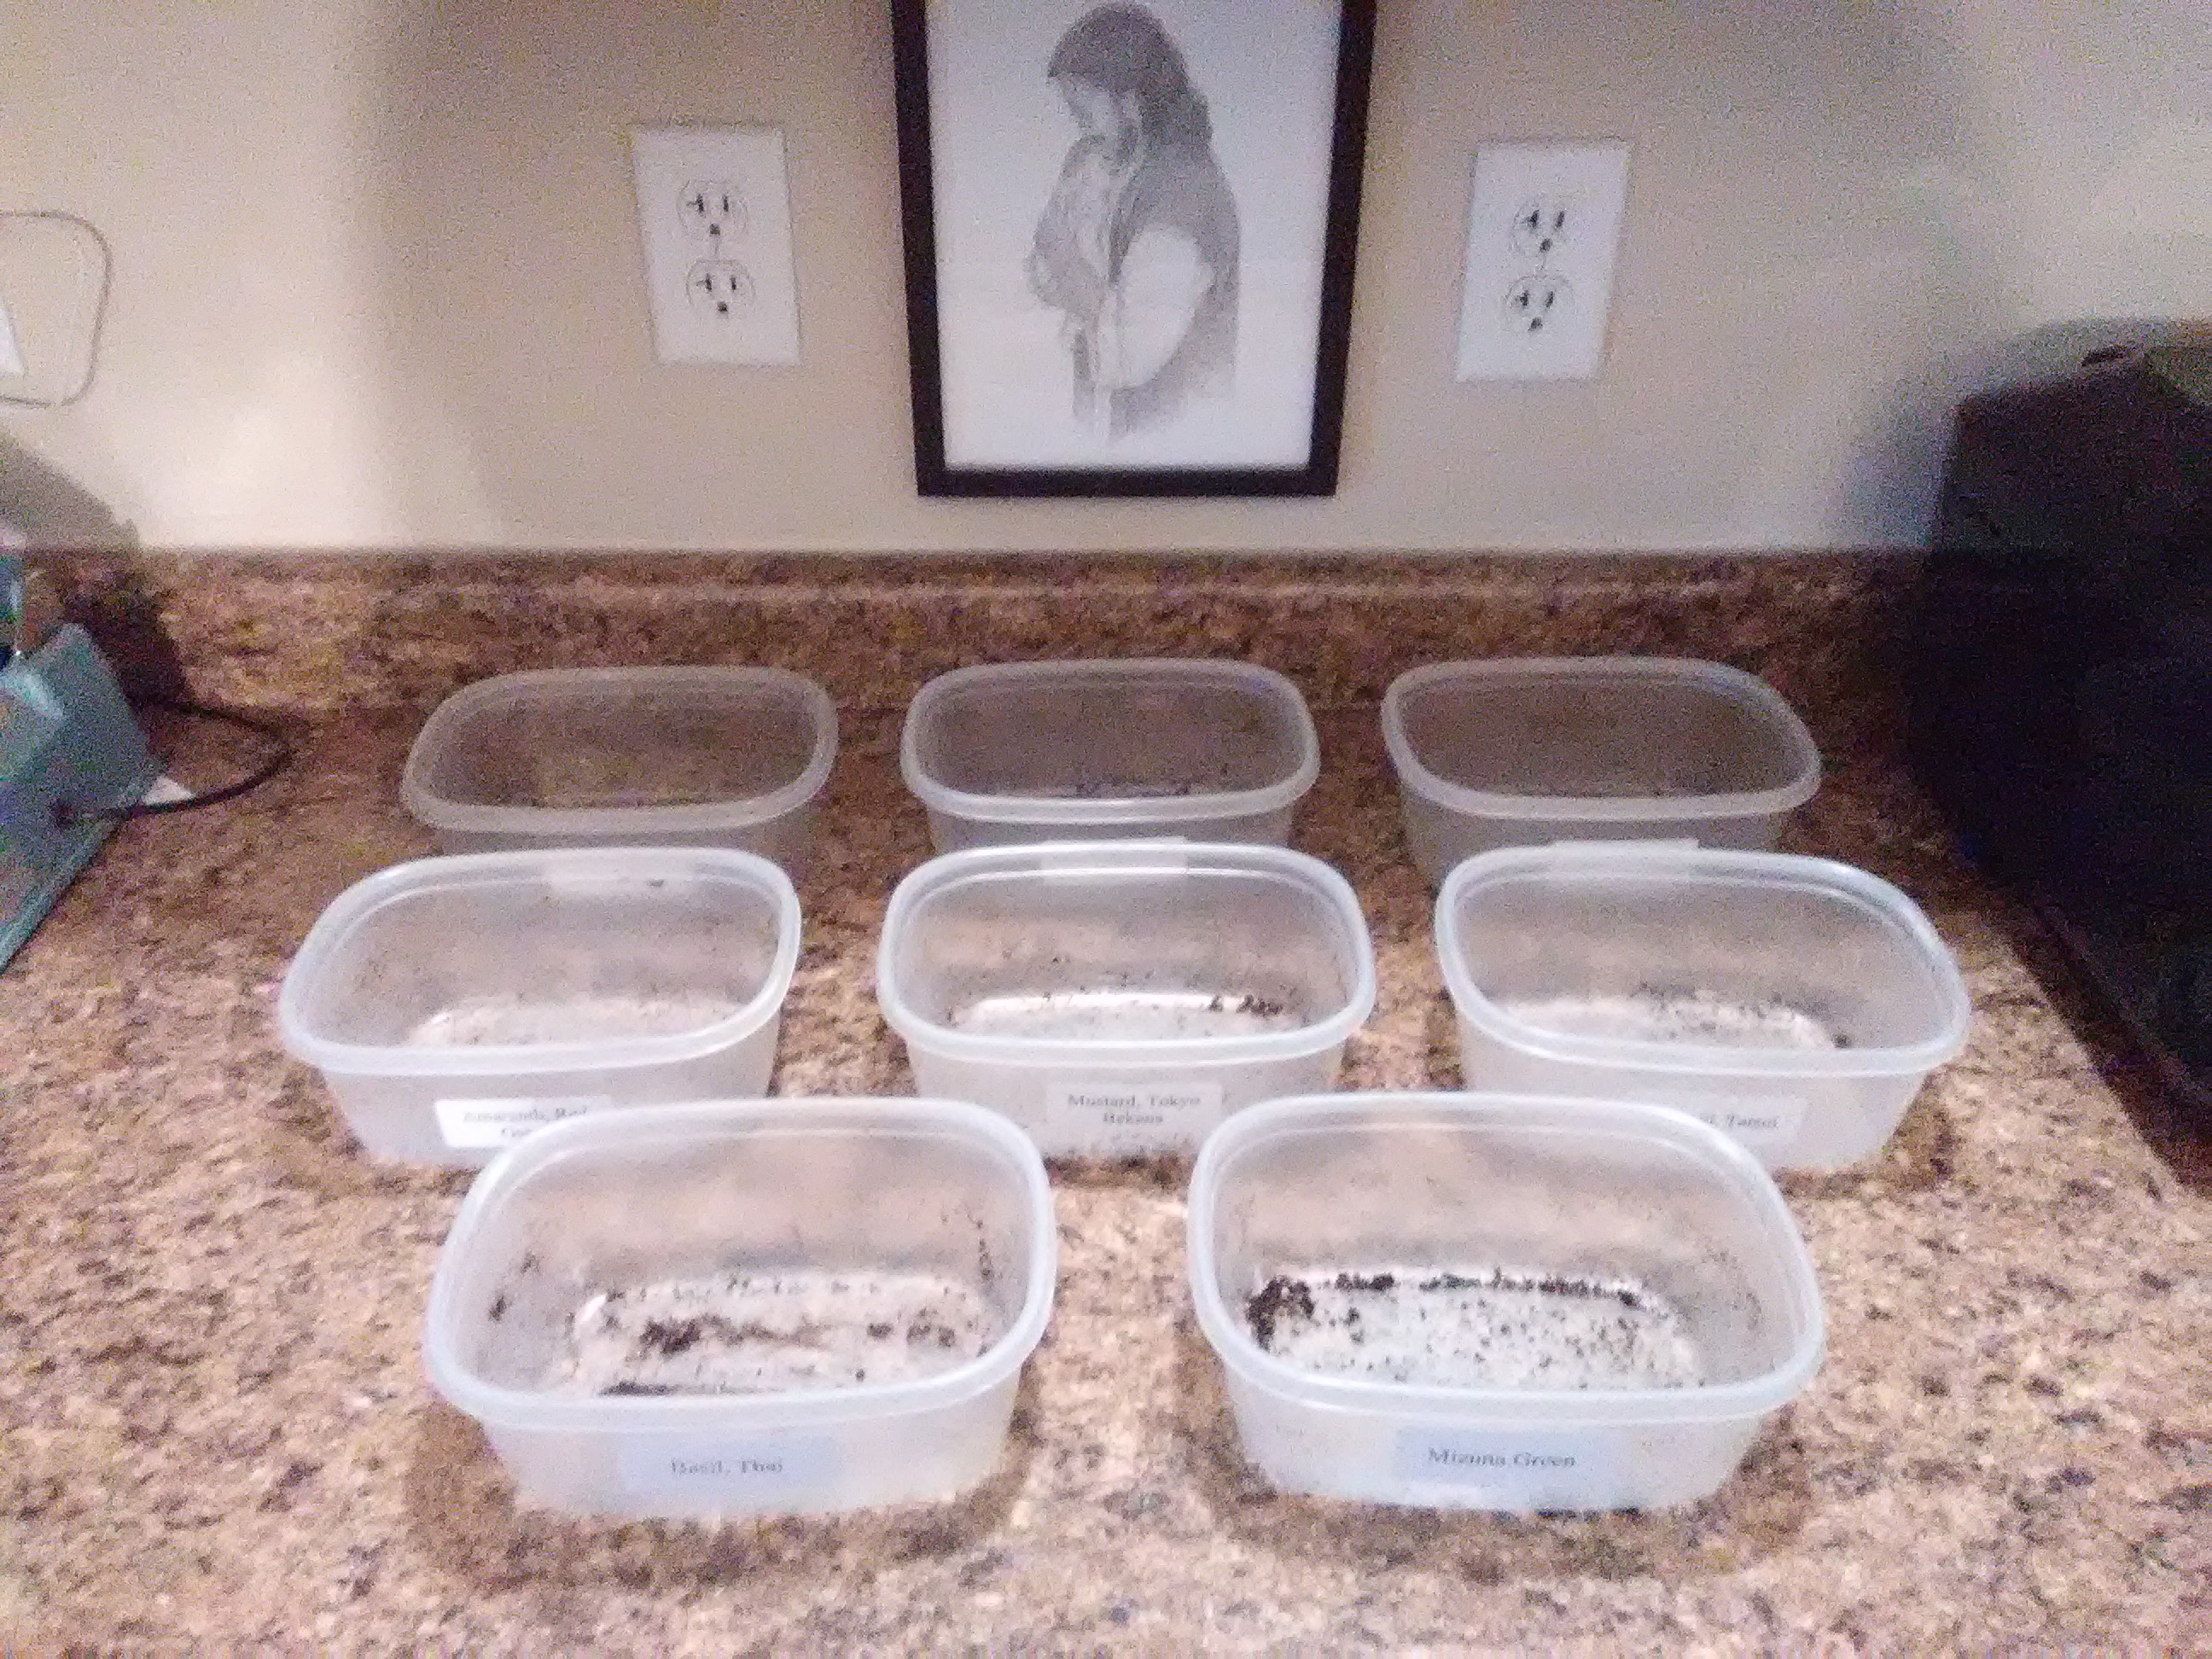
Once you have labeled all your containers, you are ready to start planting.
Time to plant your seeds!
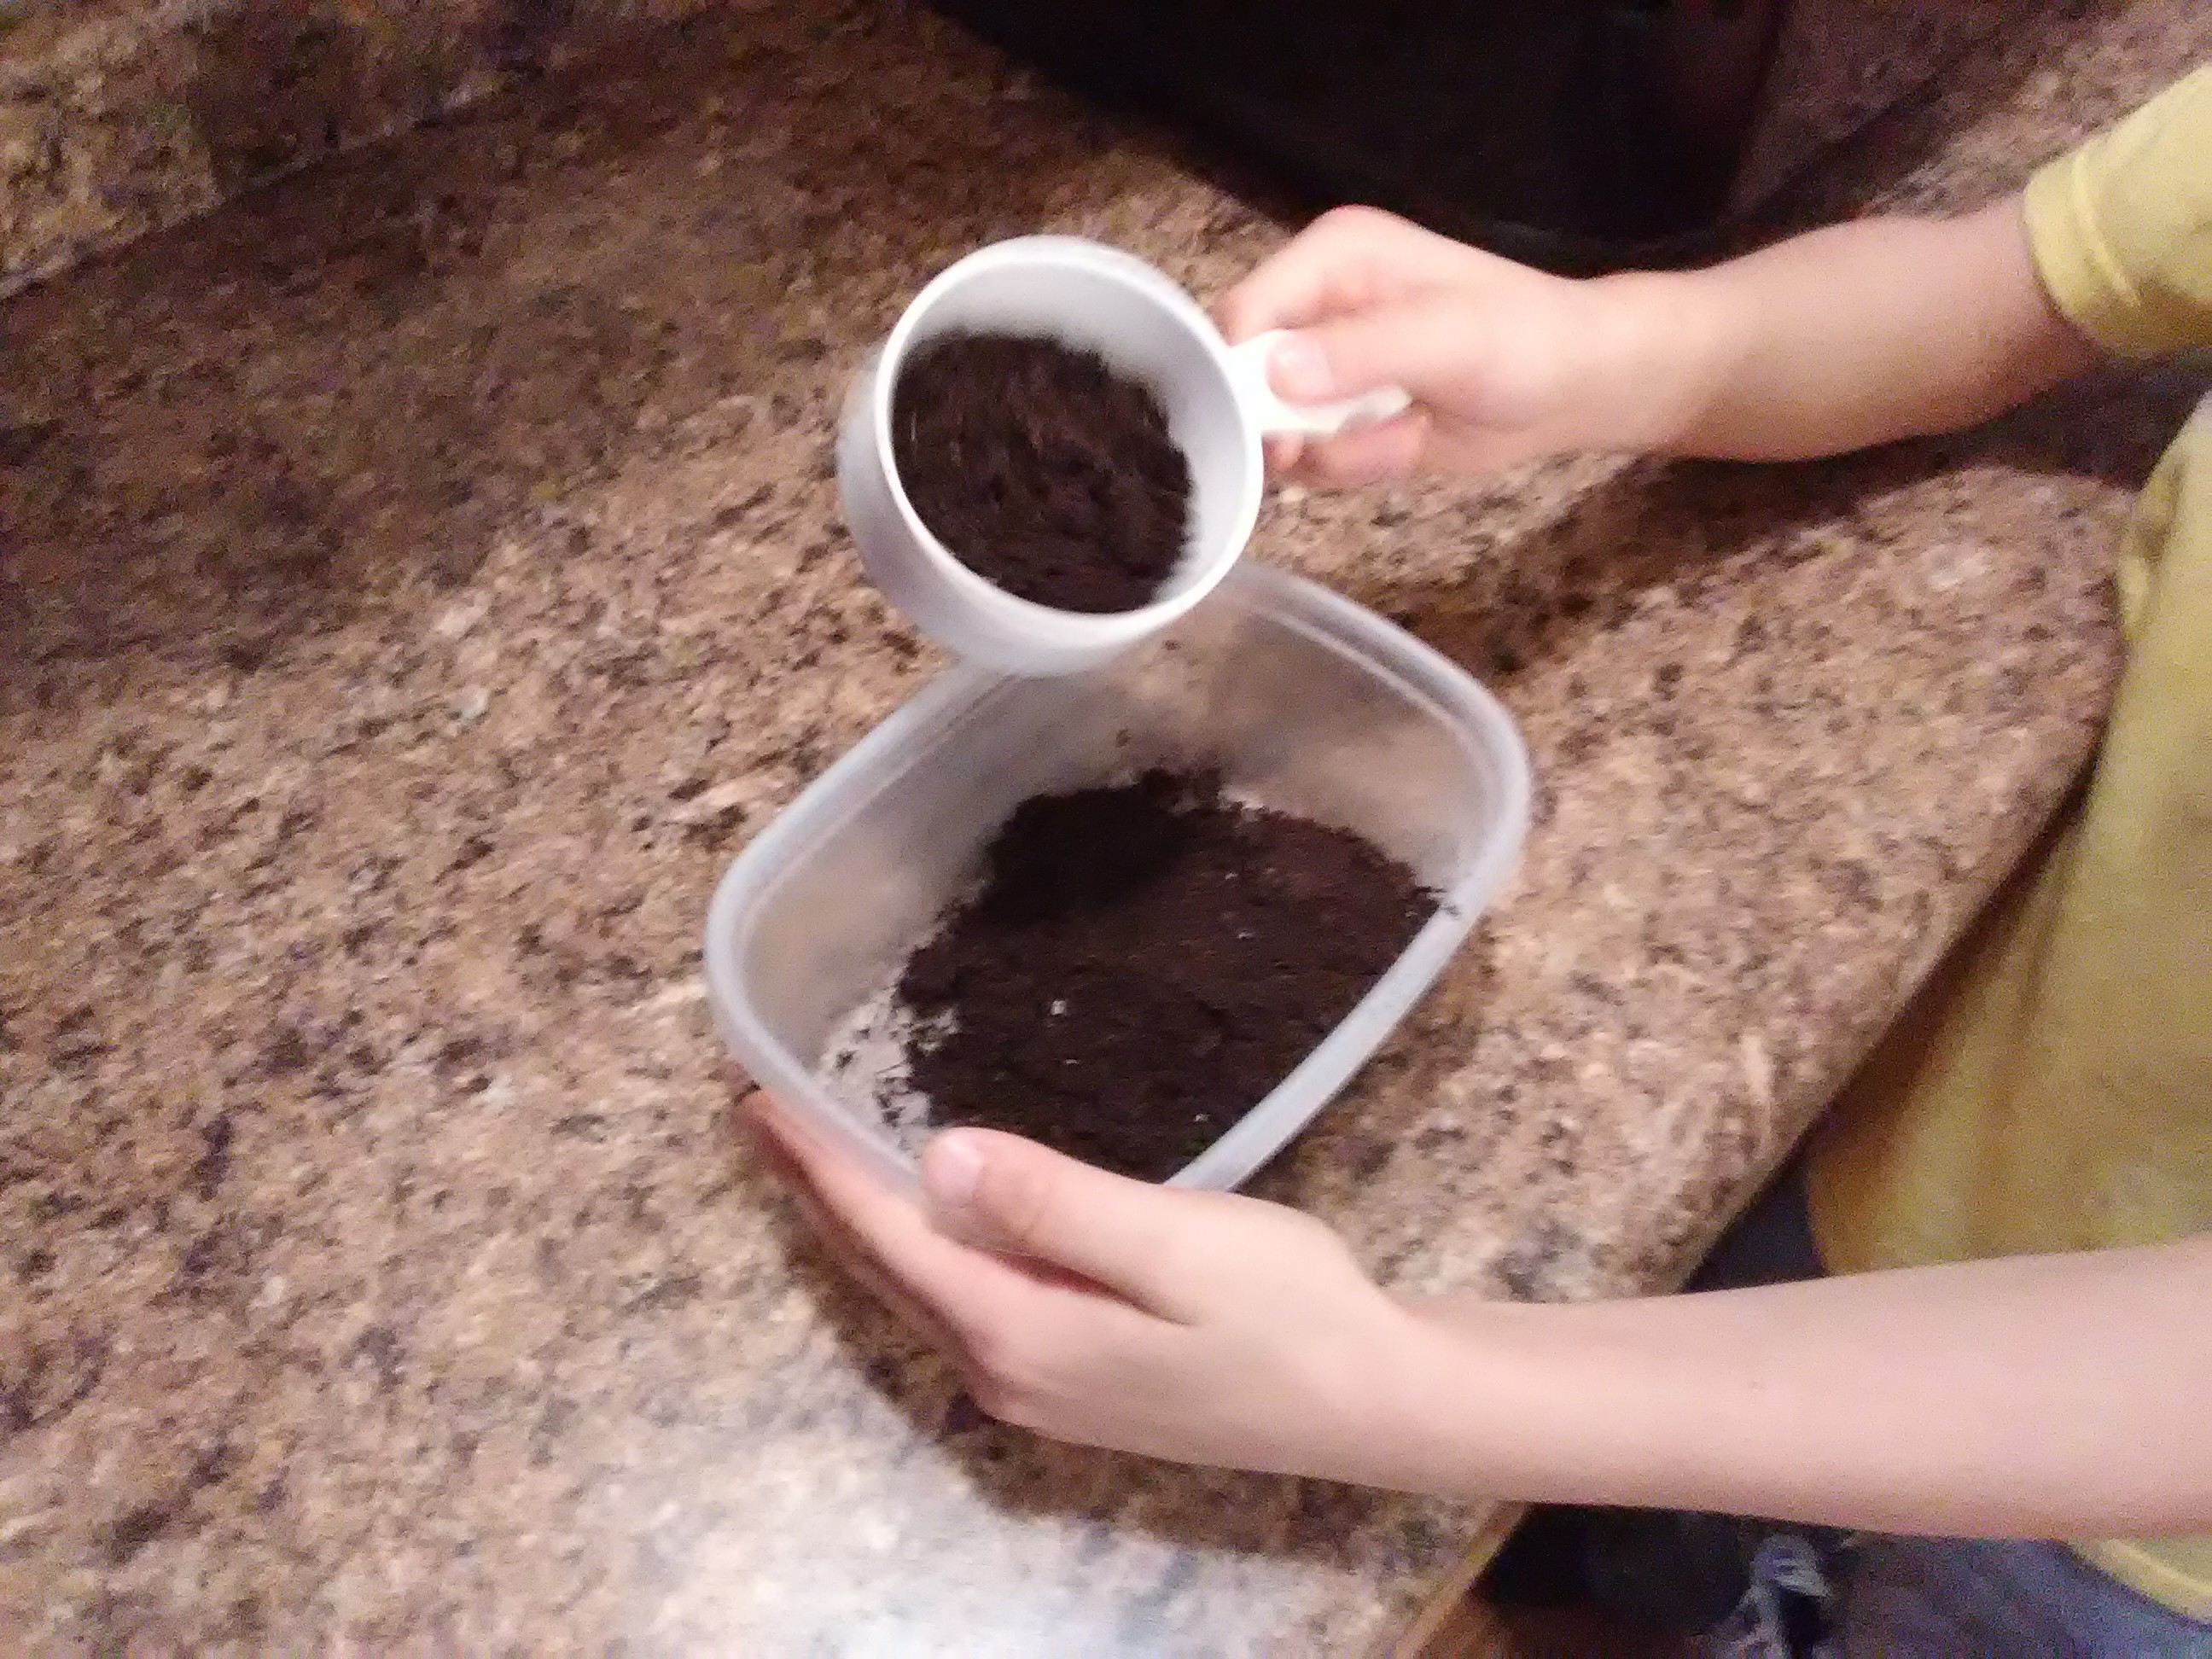
Add about an inch or so of the potting soil/ seed starter mix to each container and spread evenly.
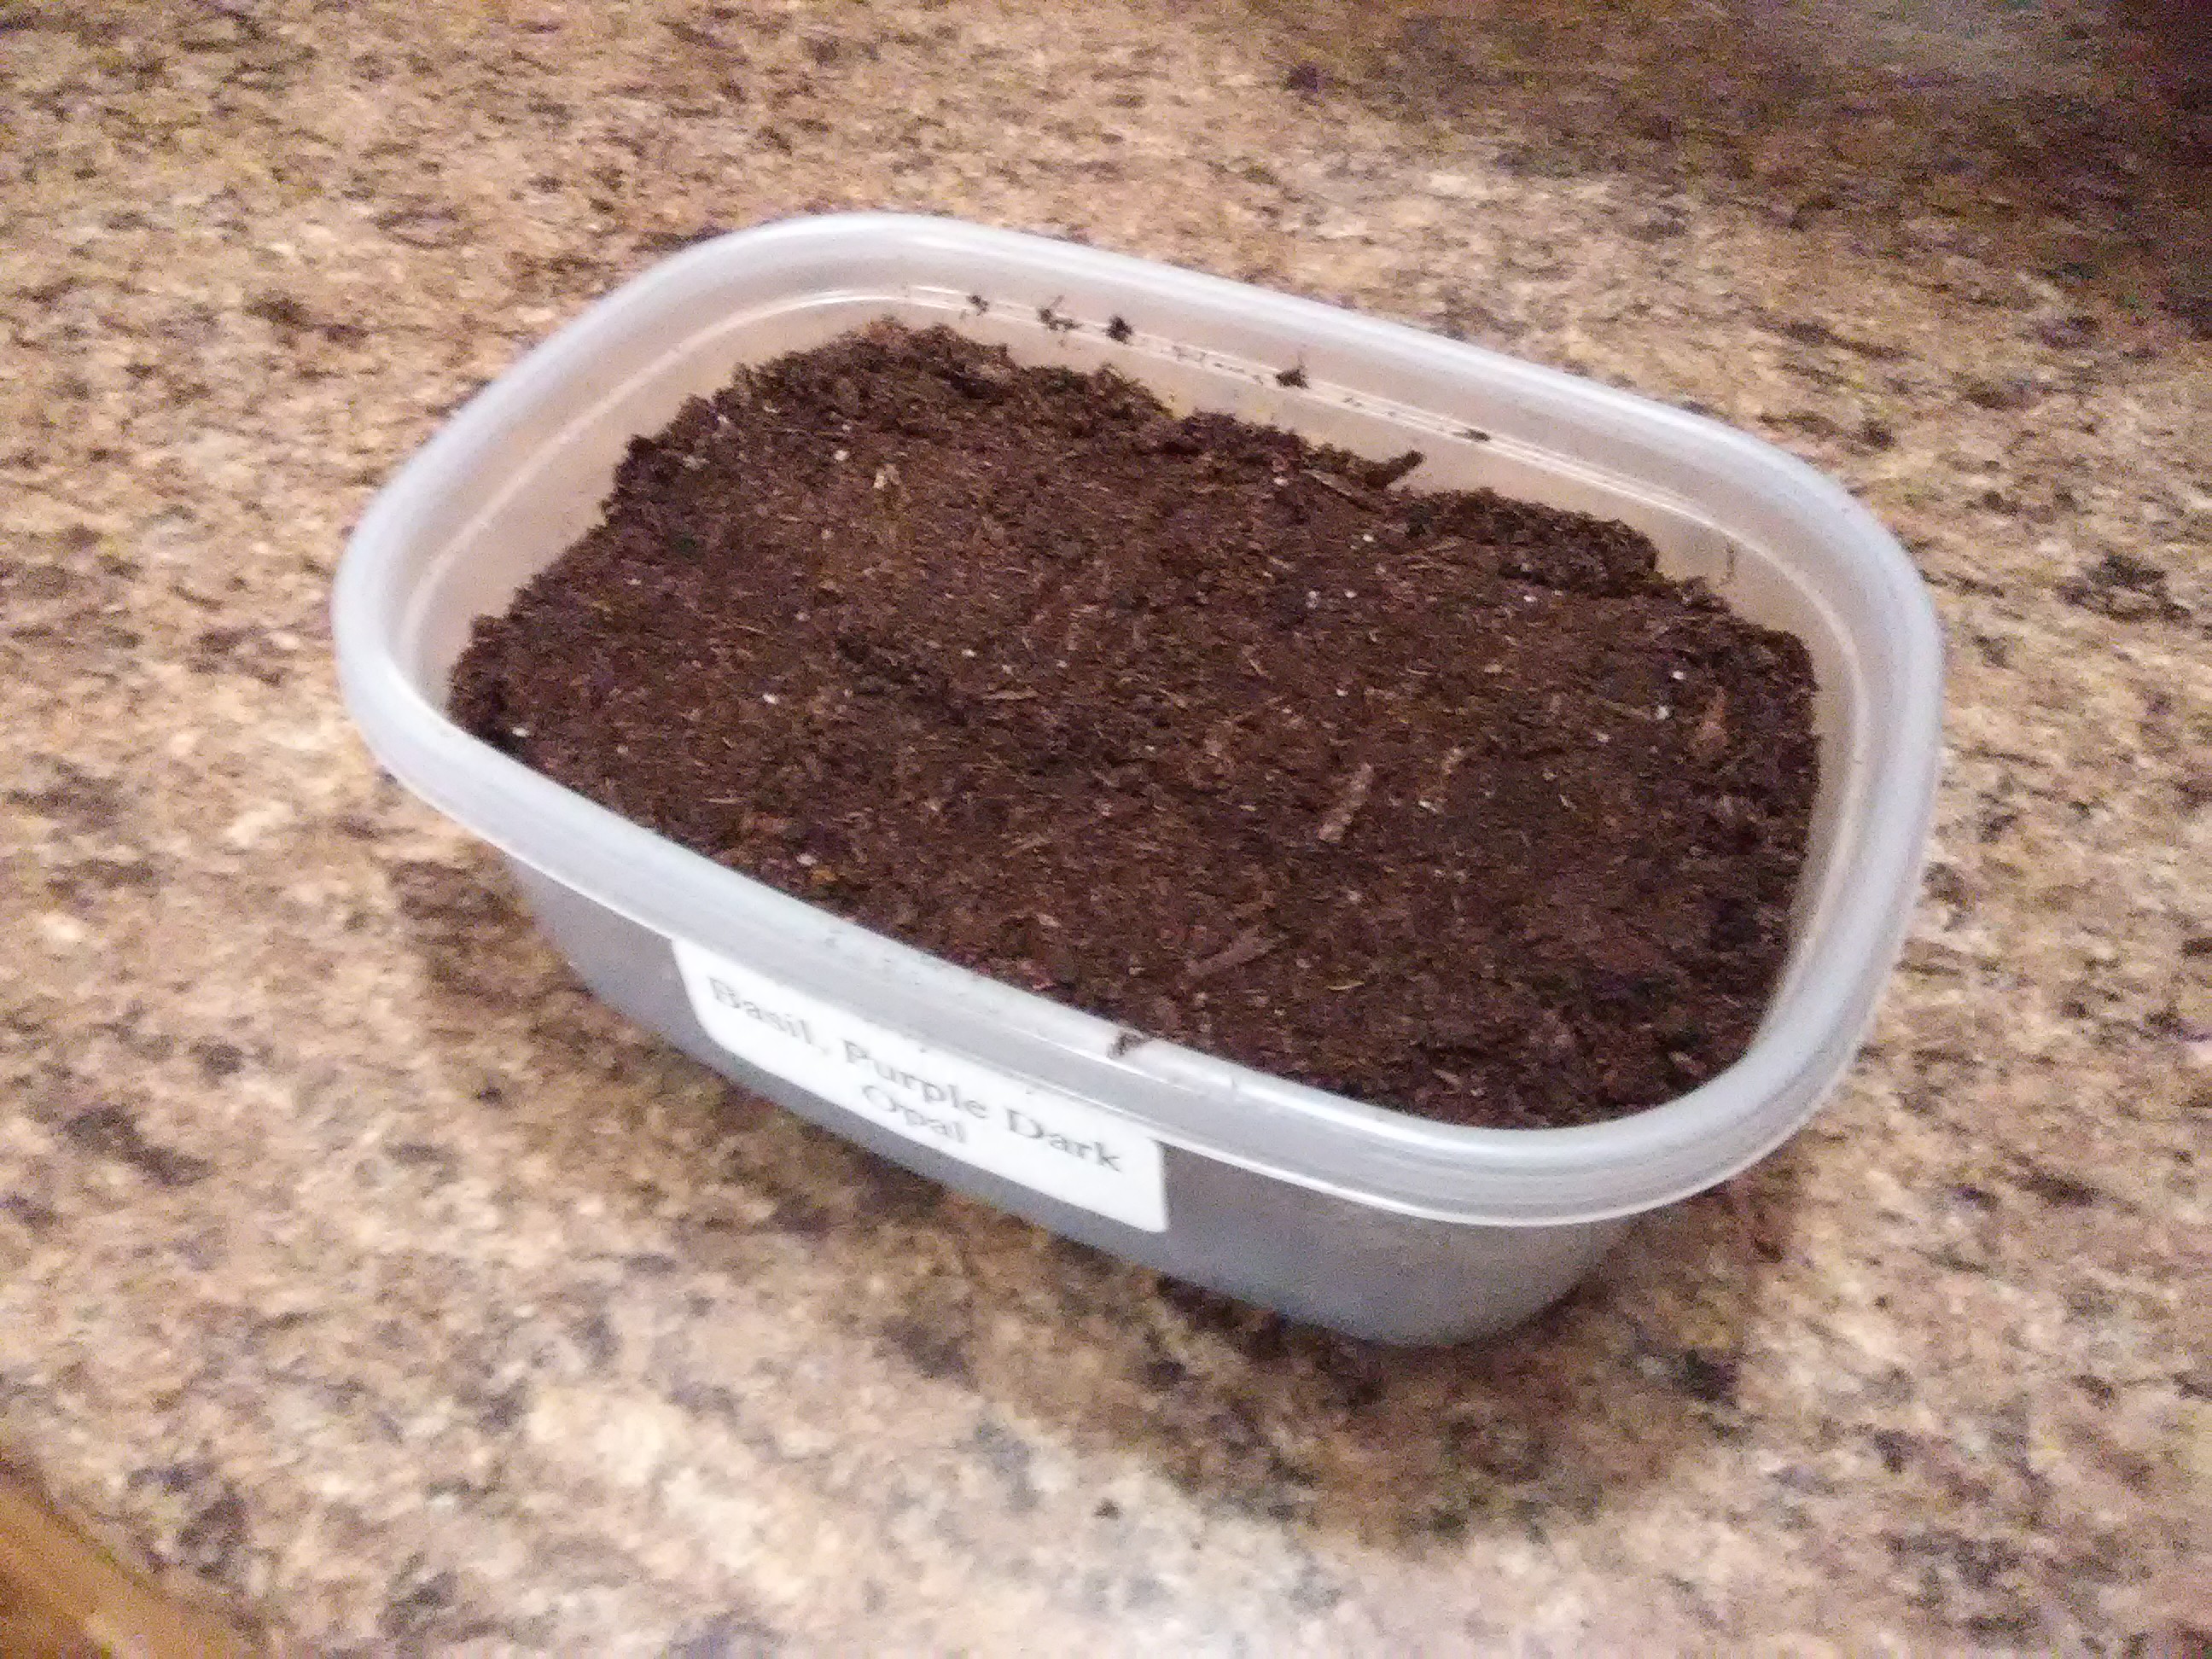
There is no need to pack the soil down, as the seeds will grow more quickly with loose soil.
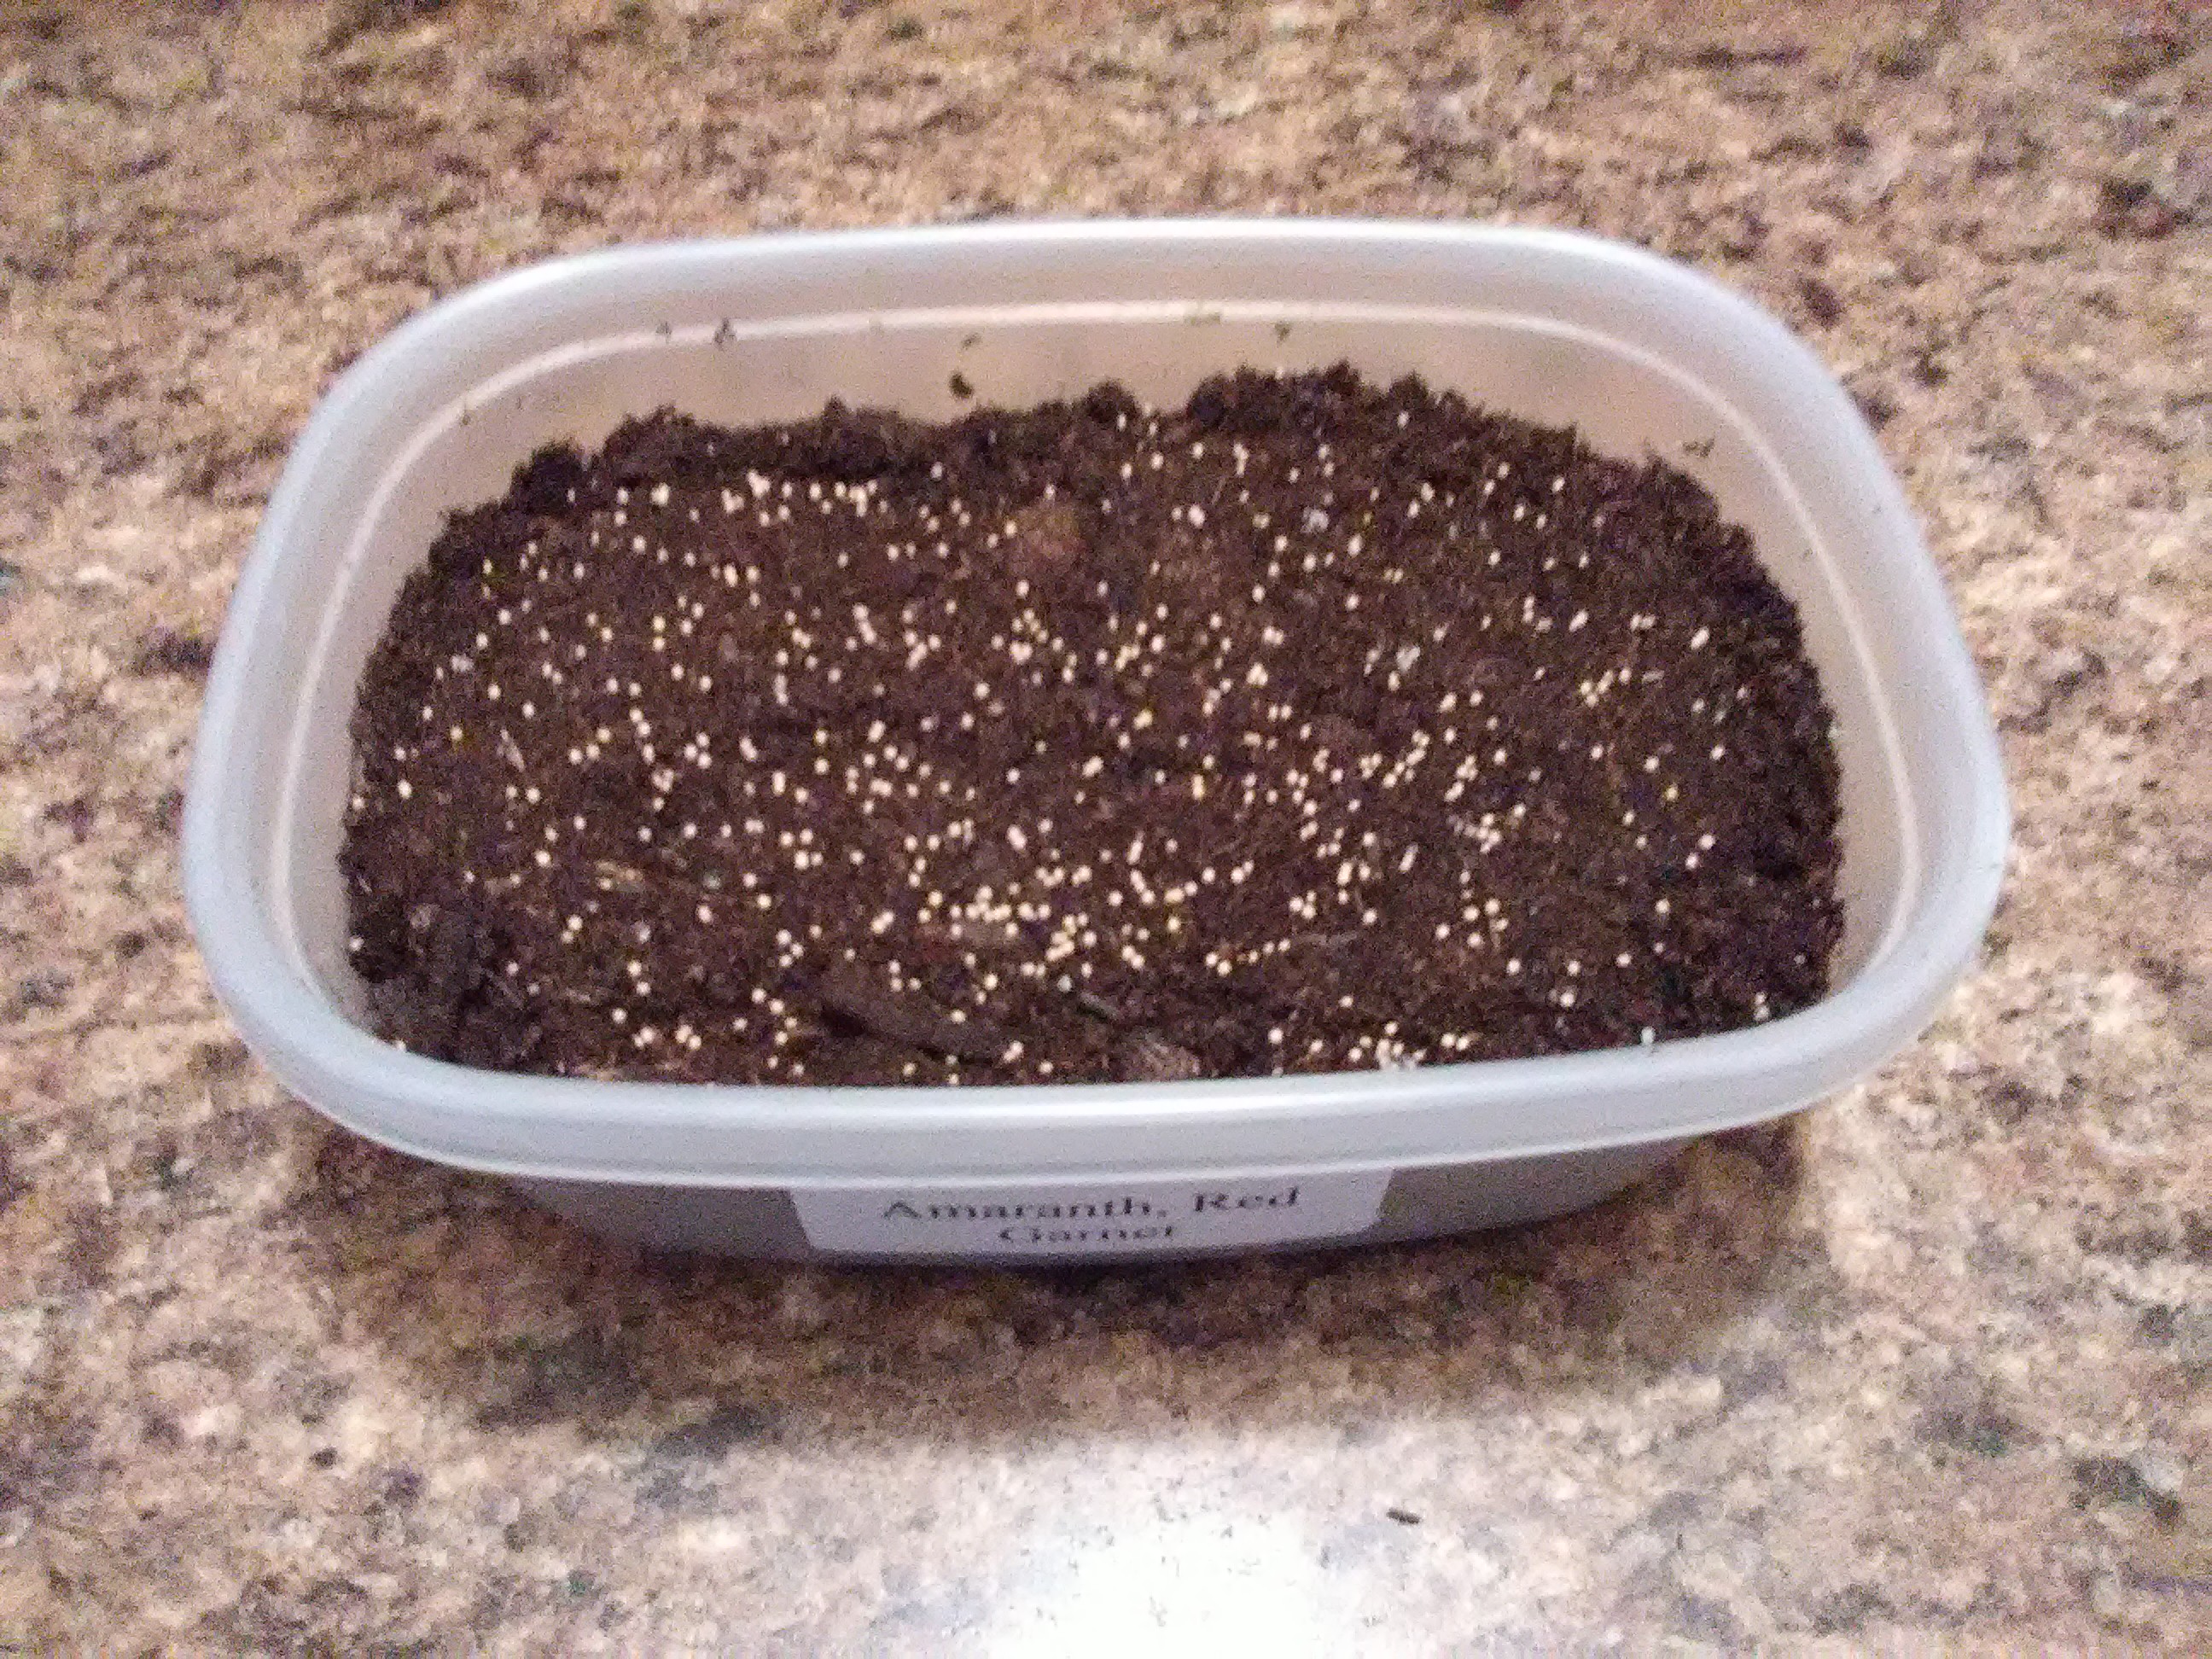
Sprinkle seeds evenly over the soil. You want to sprinkle the seeds pretty close together, but not too close. If you pack them too closely together the microgreens will get choked out and die before you can harvest. Next, cover the seeds with 1/4″ of soil and water lightly using a spray bottle set to just mist the seeds. Make sure your seeds receive about 4 hours of direct sunlight daily, either in a south-facing window, or from grow lights. We use fluorescent shop lights, and they work great for growing multiple containers of plants at once.
Now to harvest your microgreens:
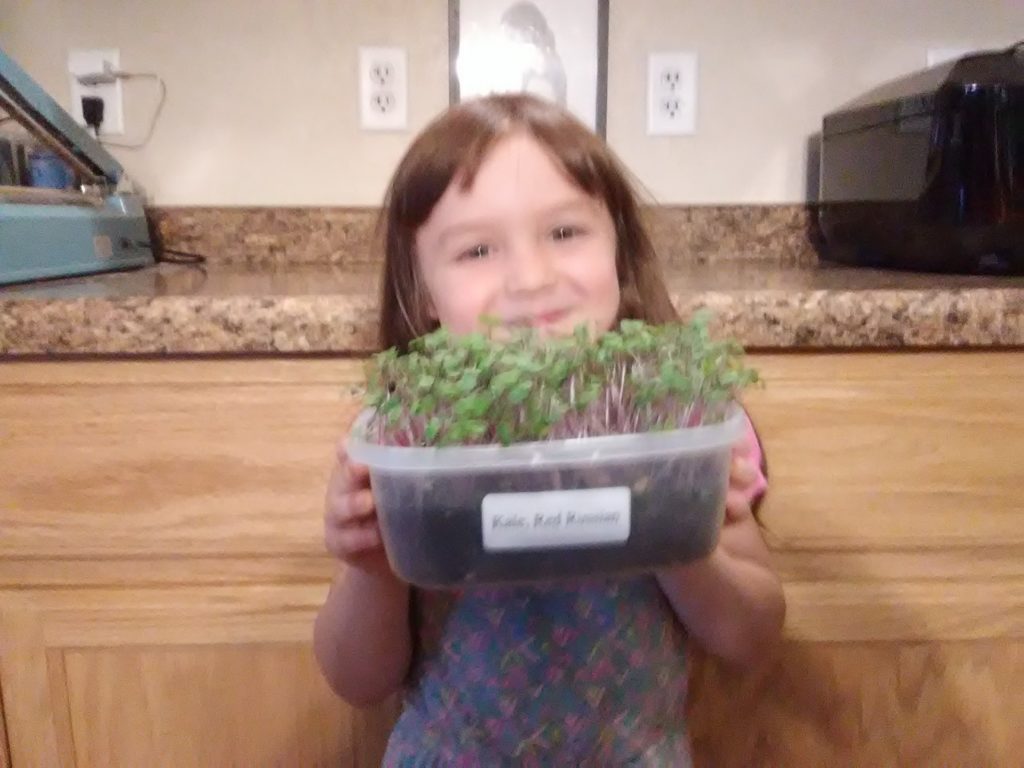
Your microgreens are ready to harvest within a few weeks when they reach about 2″ tall. Our 4 year old daughter is thrilled with her harvest of microgreens, as evidenced by the blurry image due to her excitement! Teaching your children to garden will give them a sense of accomplishment and and help them eat healthy as well!
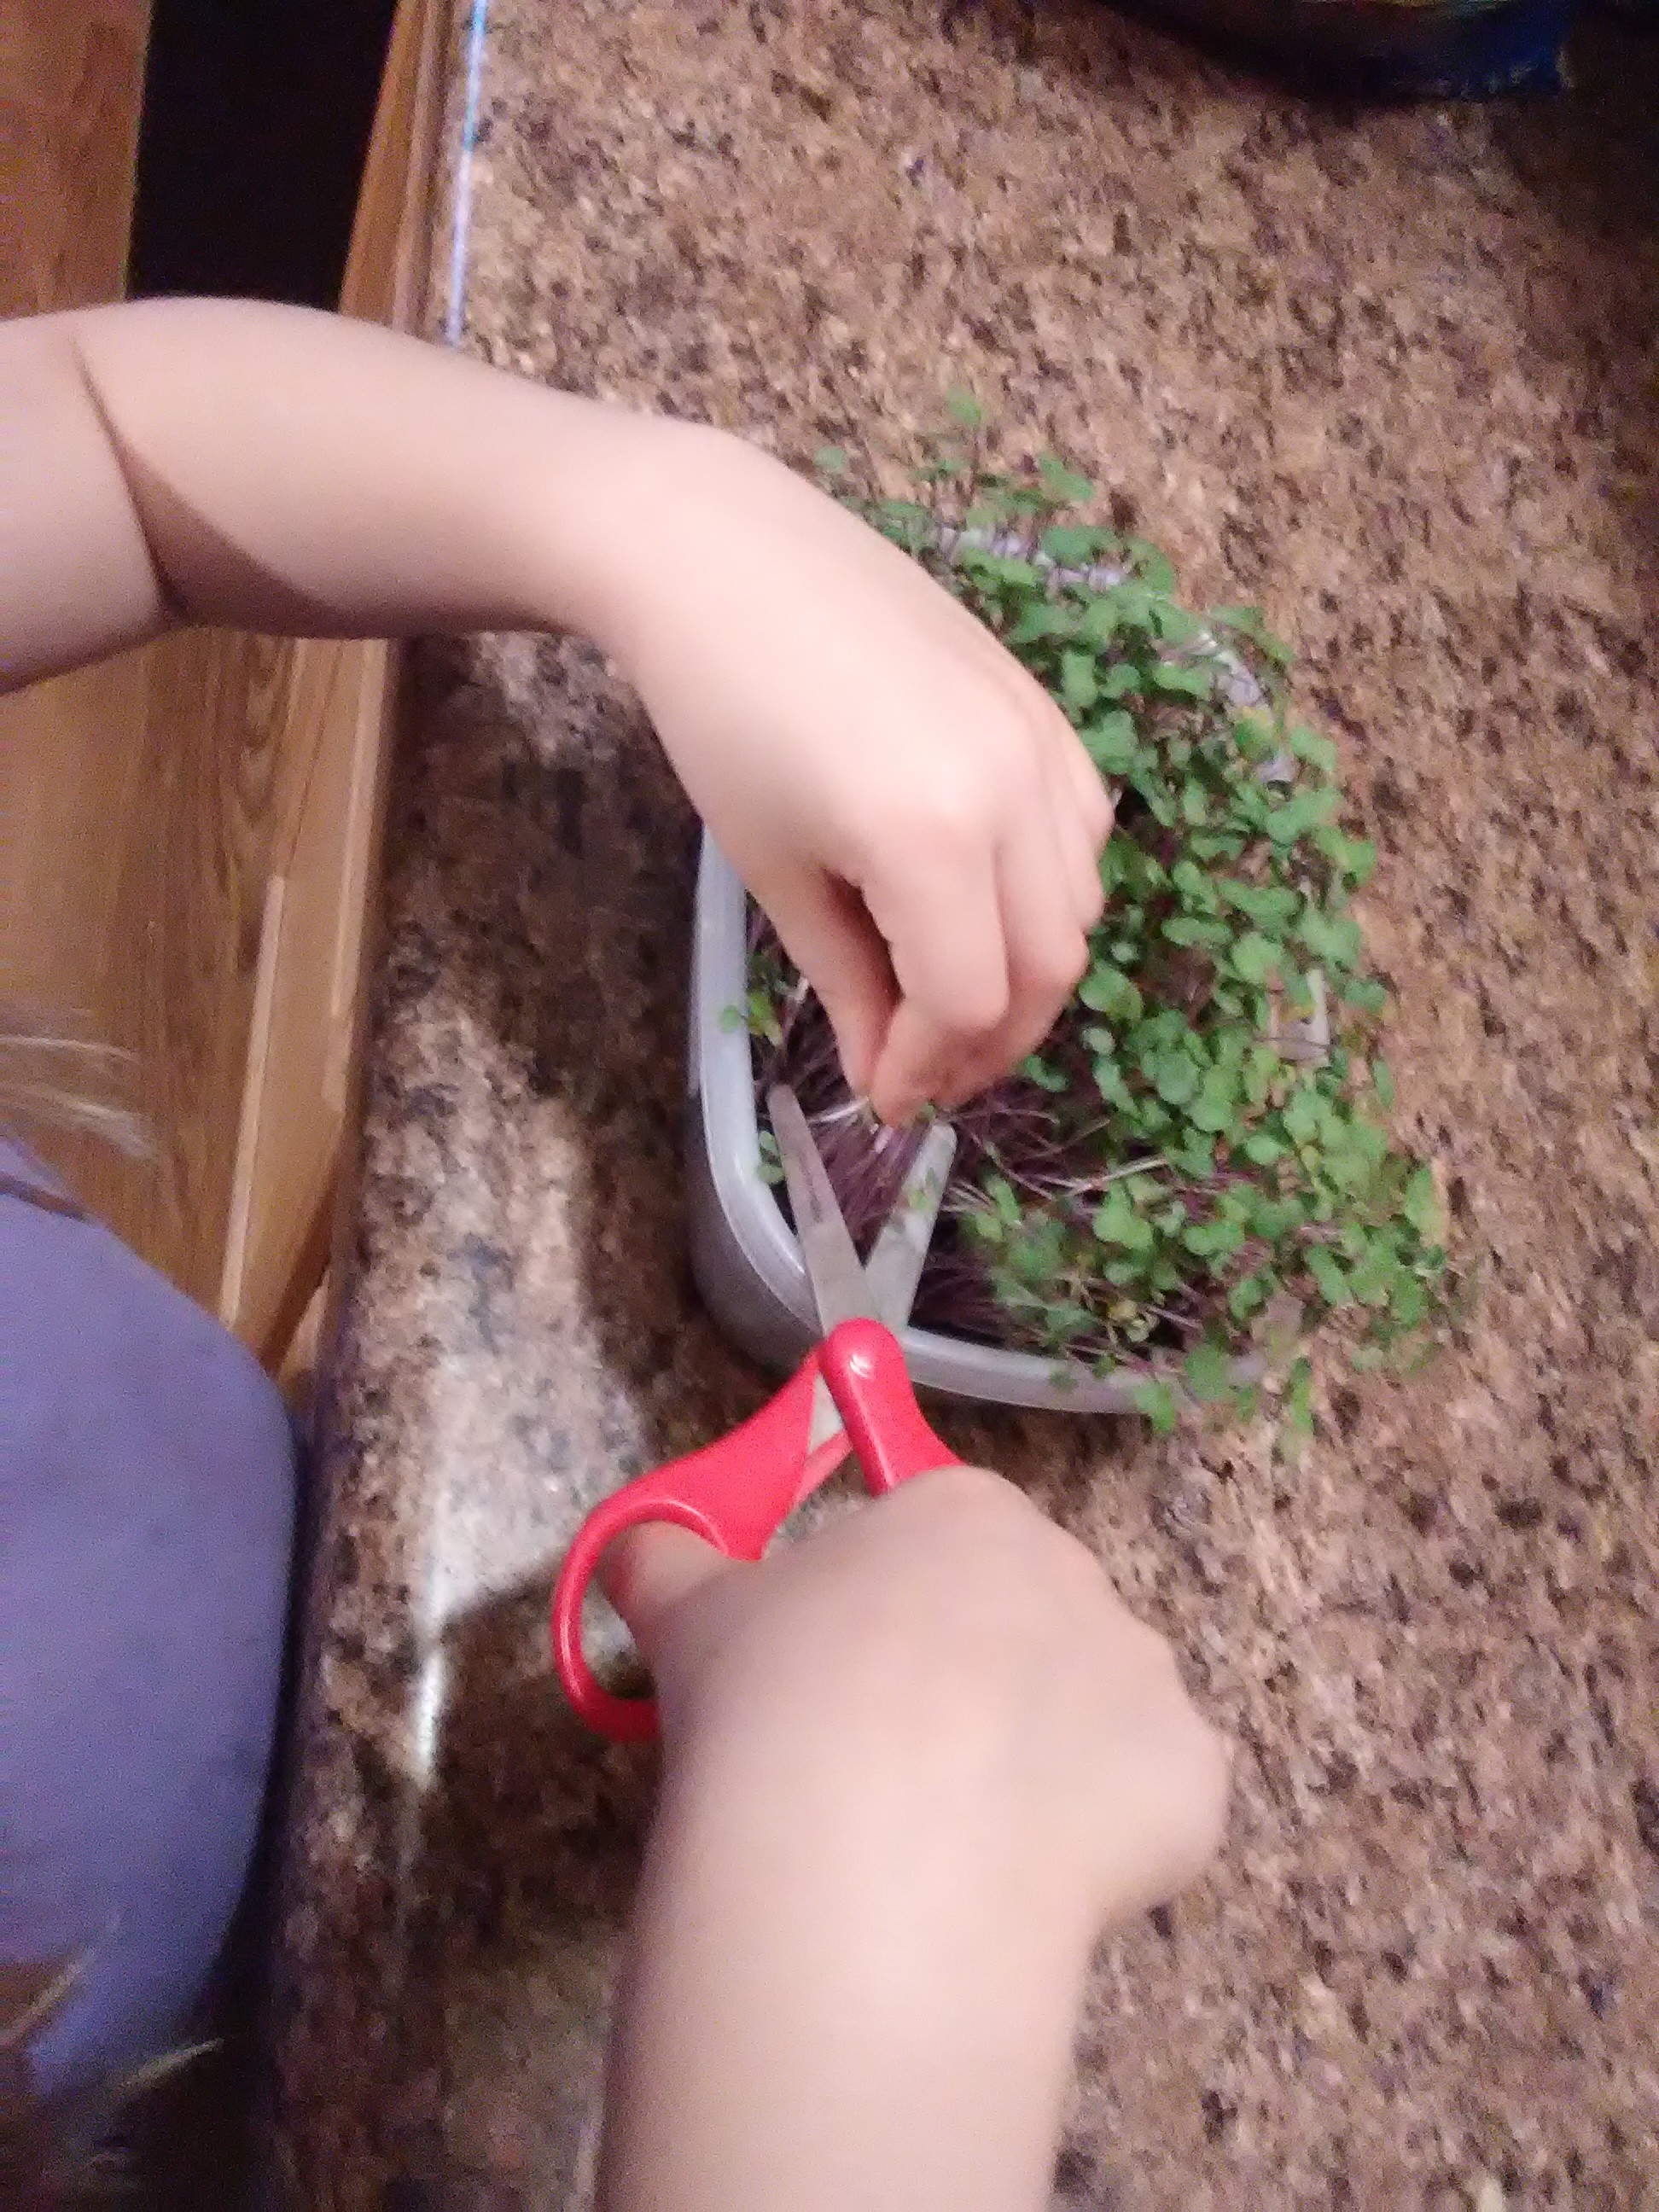
Once the microgreens are ready to harvest, use your scissors to snip the greens off just above the soil line. Try to leave the younger greens so they can keep growing for harvesting later. Soak the microgreens in a bowl of cool water for about 5 minutes, stirring a few times. Drain them and move to a paper towel, or use a salad spinner to spin them dry. Our 7 year old daughter had a blast cutting and gathering the microgreens!
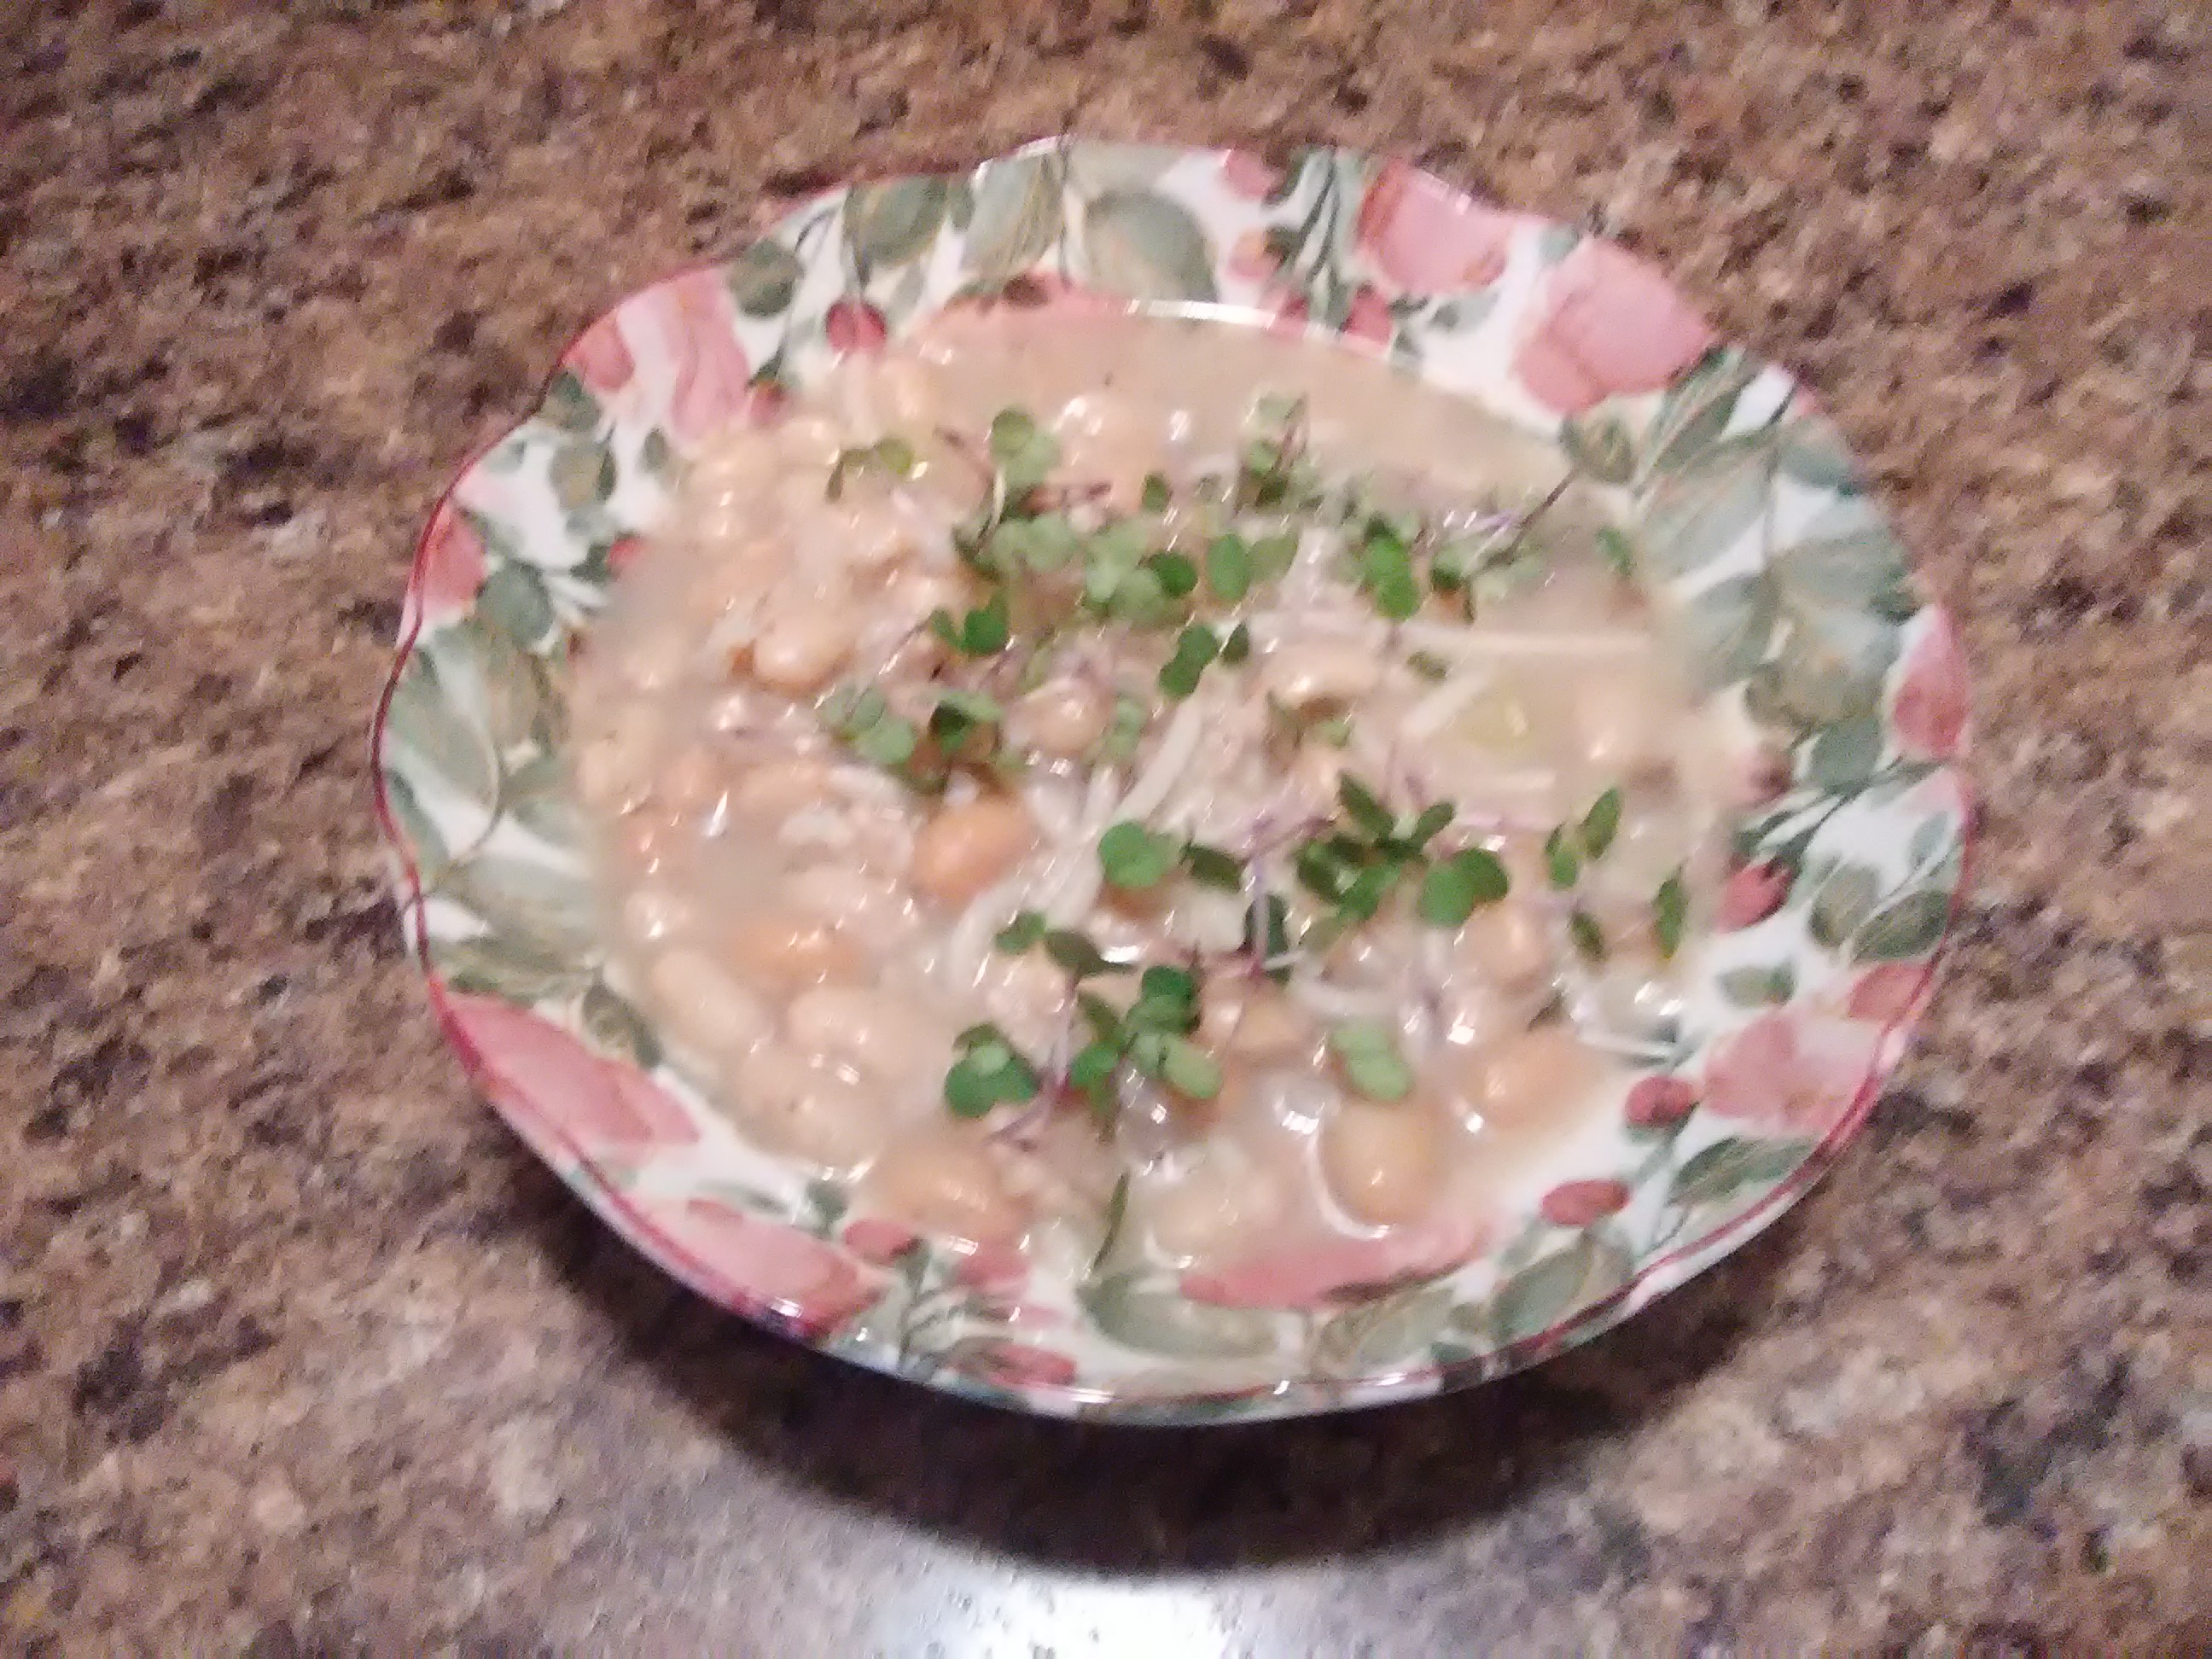
Microgreens are a nutrition powerhouse and will add a colorful touch and flavor to smoothies, sandwiches, soups, salads, pasta, pizzas, seafood, omelettes, meat and curries. You can add them to the mix when juicing veggies and fruits. These delicate greens can simplify meal prep by easily mixing with vinaigrettes for dressings and sauces, and for accents and toppings.
Choose your heirloom microgreens seeds from St. Clare’s selection today and start reaping the benefits of growing your own microgreens; some of our best selling microgreens seeds are arugula, beets, broccoli, carrots and kale. Microgreens are delicious and will add flavor to your meals and enhance your health. Enjoy!
Click Here to Purchase Microgreen Seeds!
If you have any suggestions or ideas for planting microgreens of your own, please leave a comment below, we would love to hear from you! If you like this article please feel free to share on your favorite social media!

Exactly the information I was looking for.
This is very educational I love gardening. Now on I will try on the deck in the pots because of deers population in my area. Your photos and instructions are amazing.
Thank you so much
This is amazing! I am not a gardener but want to give it a try, and this is a perfect way to start. Your instructions and photos are both educational and precious. Thank you
Your website is beautiful and inspiring. Information and inspiration for container gardening is requested. I have a small deck facing southeast in a townhouse. Hoping to start a small garden from seed this spring. Have had lots of success with potted flowers each spring/summer season – geraniums especially. Thank you!